WisBlock Integration to Ubidots over MQTT and Voice Command using Google Assistant

Monitor your home or office with our RAKwireless WisBlock modules using a web or mobile dashboard, plus add voice commands with Google Assistant for automation and switch control just to integrate your IoT (Internet of Things) easier.
In the following article, we describe how you can monitor the environment in your home or office with our RAK11200 WisBlock Core (which is based on ESP32) then add the Google Assistant to control devices with voice commands.
Here are the few requirements that can help you to get started:
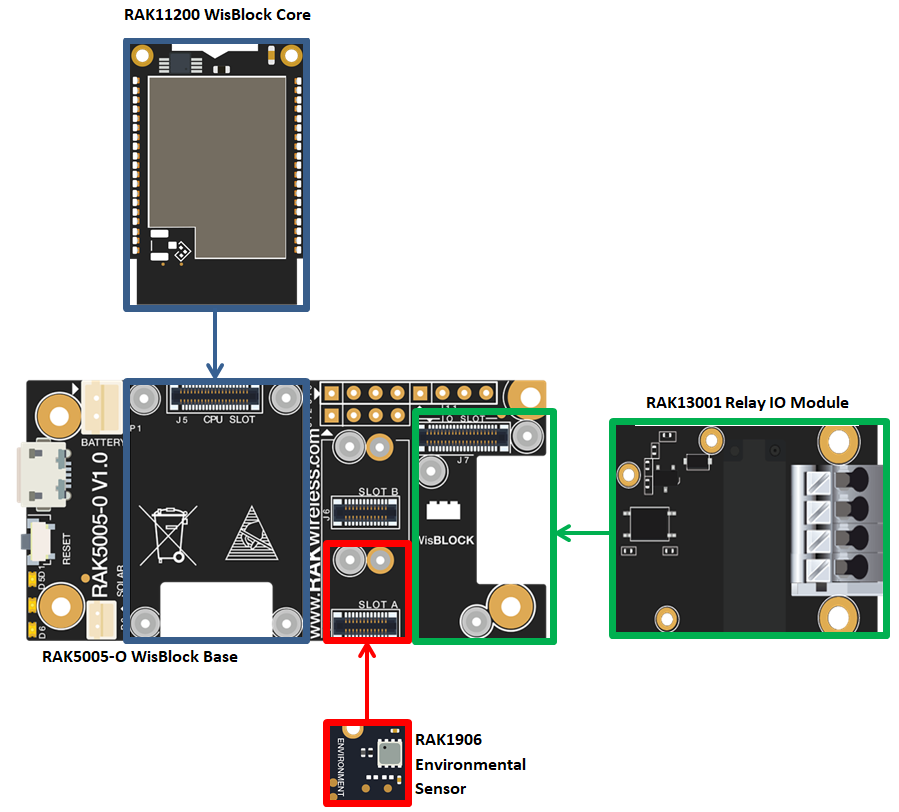
- RAK11200 WisBlock Core Module for WiFi
- RAK5005-O WisBlock Base
- RAK1906 Environmental Sensor (measures temperature, humidity, pressure, & gas resistance)
- RAK13001 Relay IO Module
- Electrical Wires
- Light / AC Powered Devices
- Ubidots Account
- IFTTT Account
- Google Assistant Account
- Arduino IDE
WisBlock Integration to Ubidots over MQTT
-
Hardware Setup
- In our example, we will be using the RGB LED strip as the load for our relay.
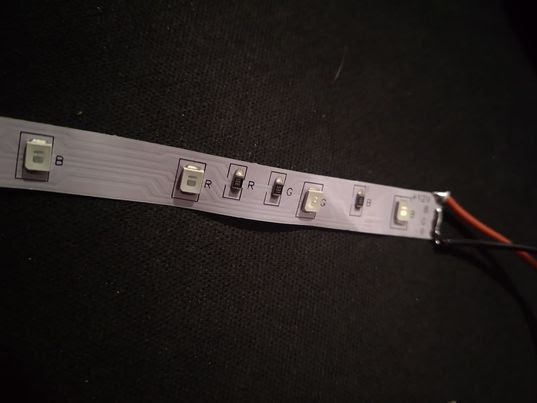
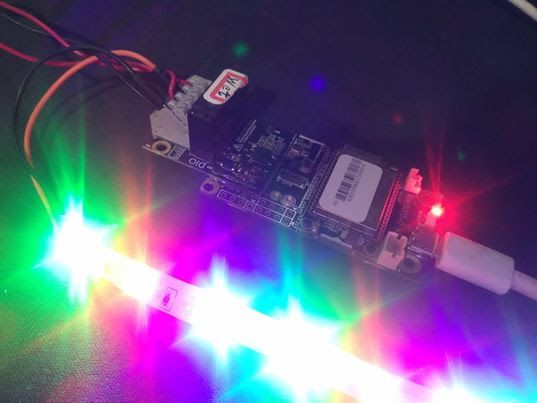
- In our example, we will be using the RGB LED strip as the load for our relay.
-
Install the RAK11200 RAKwireless ESP32 BSP. Please see full instruction from this link: https://docs.rakwireless.com/Product-Categories/WisBlock/RAK11200/Quickstart/#install-rakwireless-esp32-bsp-on-arduino-boards-manager
Download and install also the following libraries into your Arduino IDE:- PubSubClient
- Ubidots ESP MQTT
- Adafruit_BME680
-
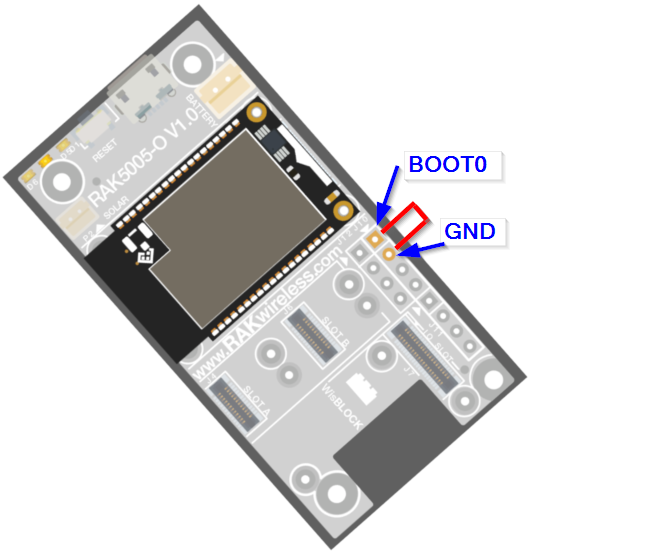
Before uploading codes to the RAK11200, please make sure to press the reset button while BOOT0 pin and GND pin are shorted first (as shown in the image below). Otherwise, your upload will fail if you don’t do this. Please take a look at this link for complete guide:
https://docs.rakwireless.com/Product-Categories/WisBlock/RAK11200/Quickstart/#uploading-to-wisblock
-
Copy and upload the code from our WisBlock Github repo into your Arduino IDE:
NOTE:
- Input your WiFi credentials:
const char *WIFI_SSID = "******";
const char *WIFI_PASS = "******";
- Input your Ubidots Default Token:
(To find your Ubidots Default Token, refer to this link: https://help.ubidots.com/en/articles/590078-find-your-token-from-your-ubidots-account)
const char *UBIDOTS_TOKEN = "******";
-
Once done uploading the code, go and log in to your ubidots account and it will automatically input the newly created device, its variables within the device and also the data of the sensors.

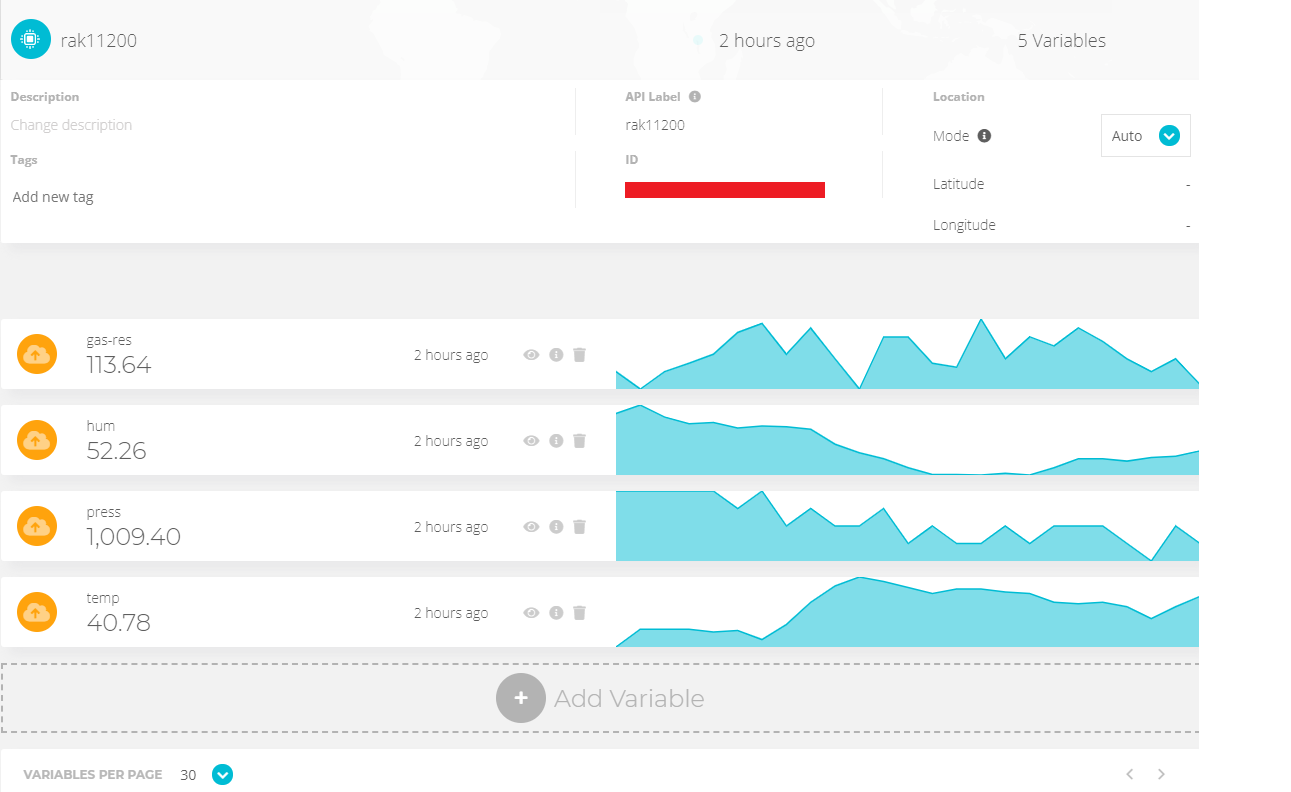
As you can see from the above picture, the relay variable has not been automatically inserted in Ubidots and it is still missing. We need to add a variable for the relay manually and to do this:- select the “Add Variable”.
- Then choose “Raw”
- And rename the added variable with “relay”.
-
Then you can create your own dashboard as shown in the image below where you can monitor the environment coming from the sensor. For dashboard making, please go into this link: https://help.ubidots.com/en/articles/2400308-create-dashboards-and-widgets
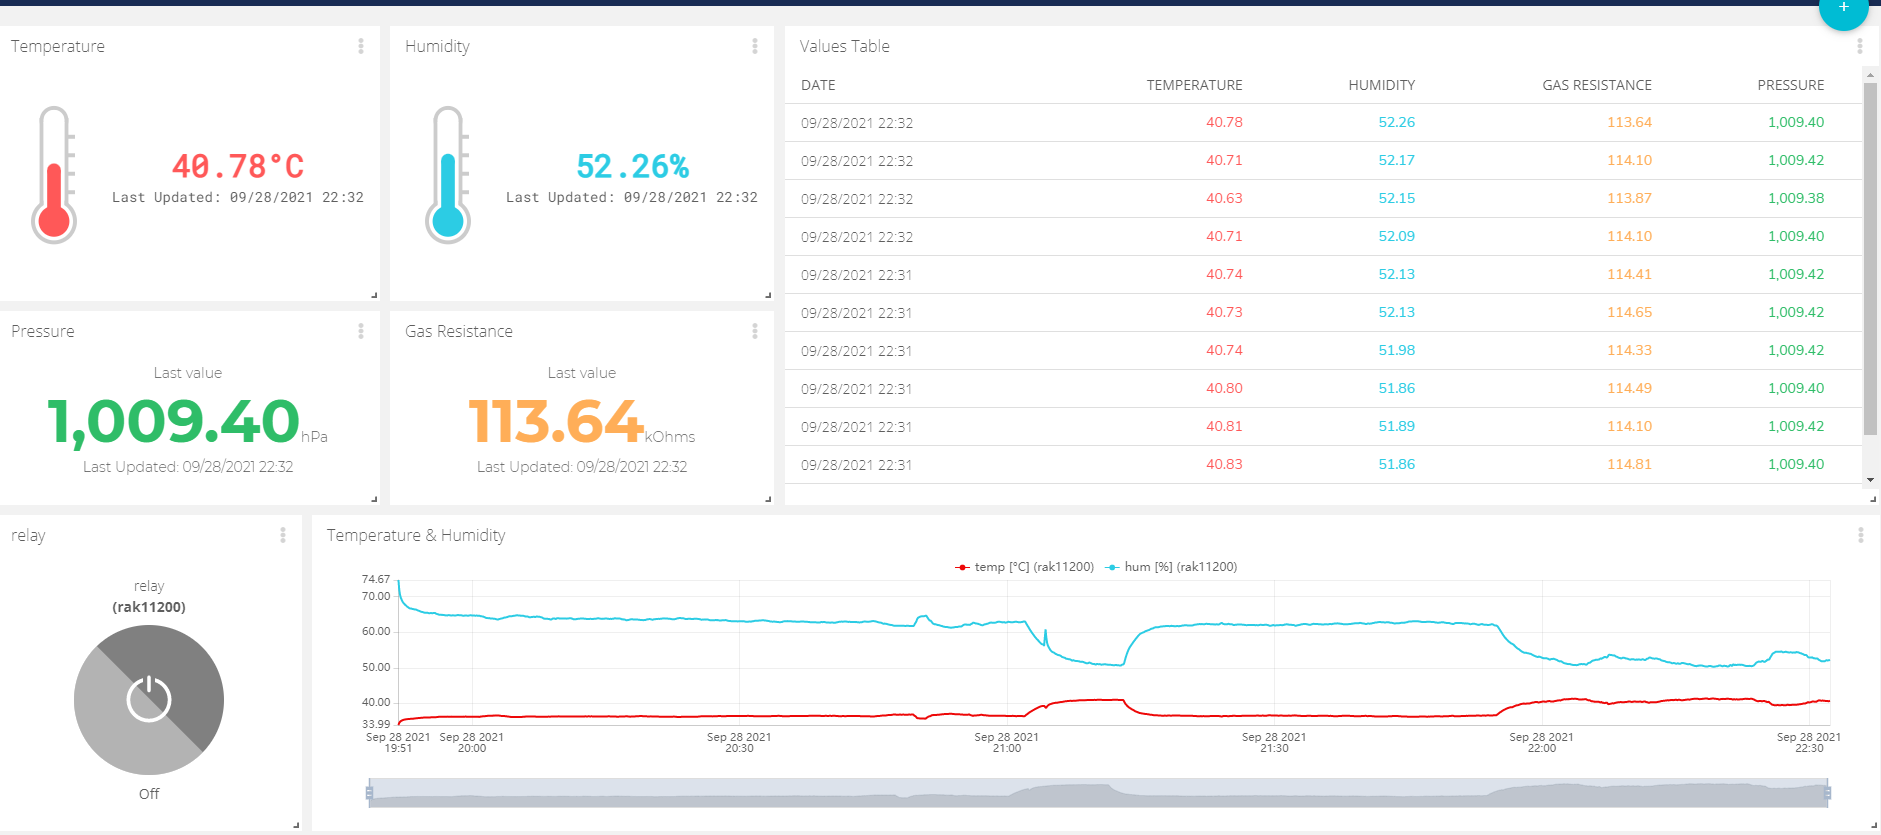
- Finally, you can set up an IFTTT to control your relay where the RGB LED strip is connected in your system by voice command using Google Assistant.
WisBlock Integration to Google Assistant over IFTTT
-
After integrating your WisBlock with Ubidots, go and Log in to your IFTTT account.
-
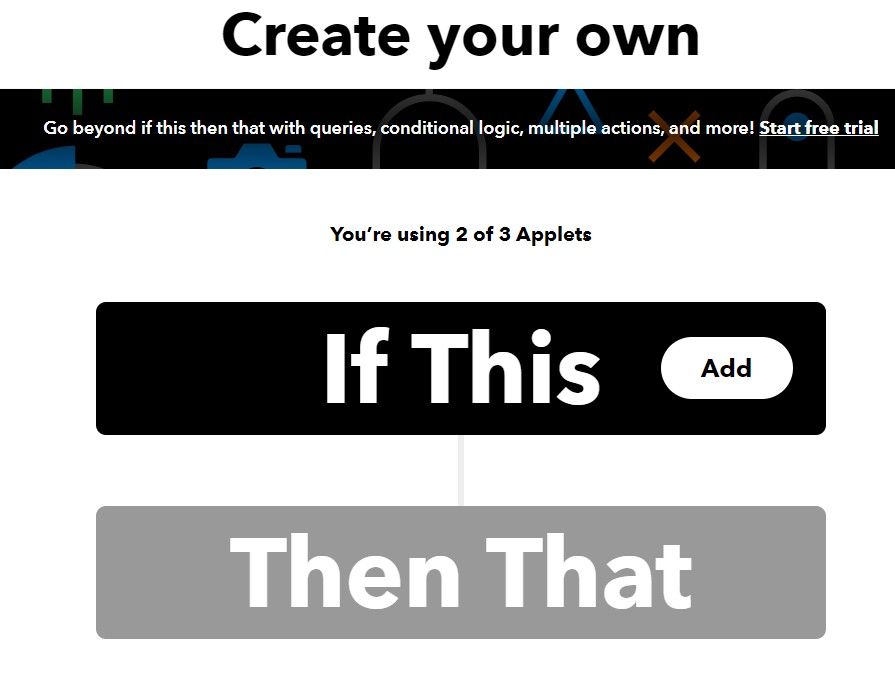
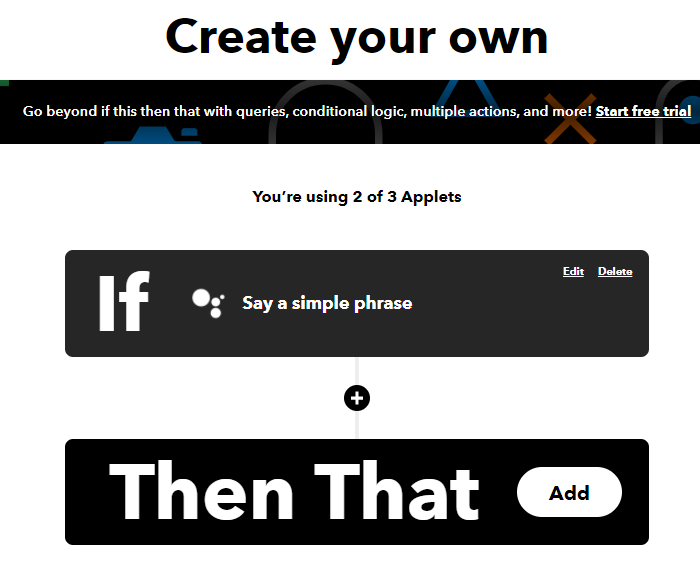
Then select “Create” to create a new Applet.
-
Click the “If This +” as shown in the image below.
-
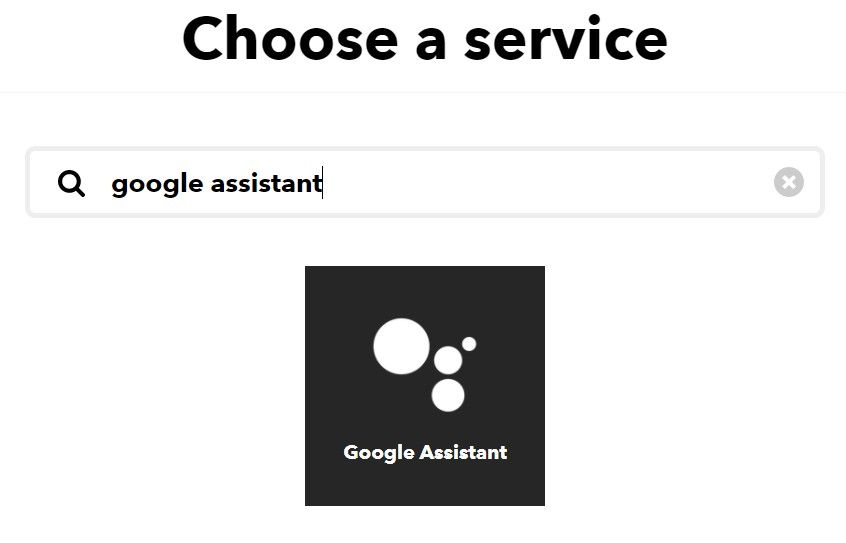
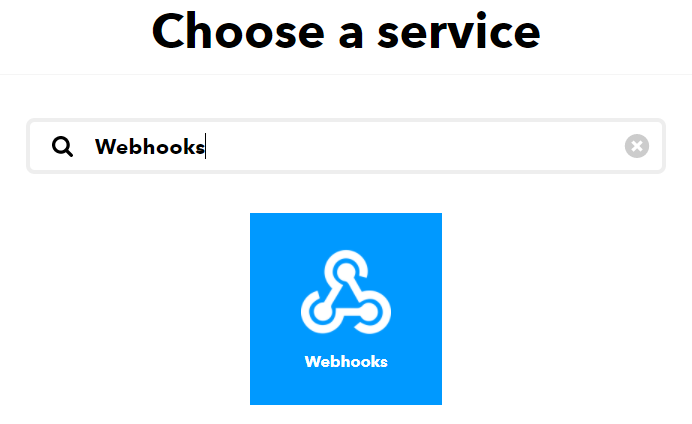
Search and select “Google Assistant”.
-
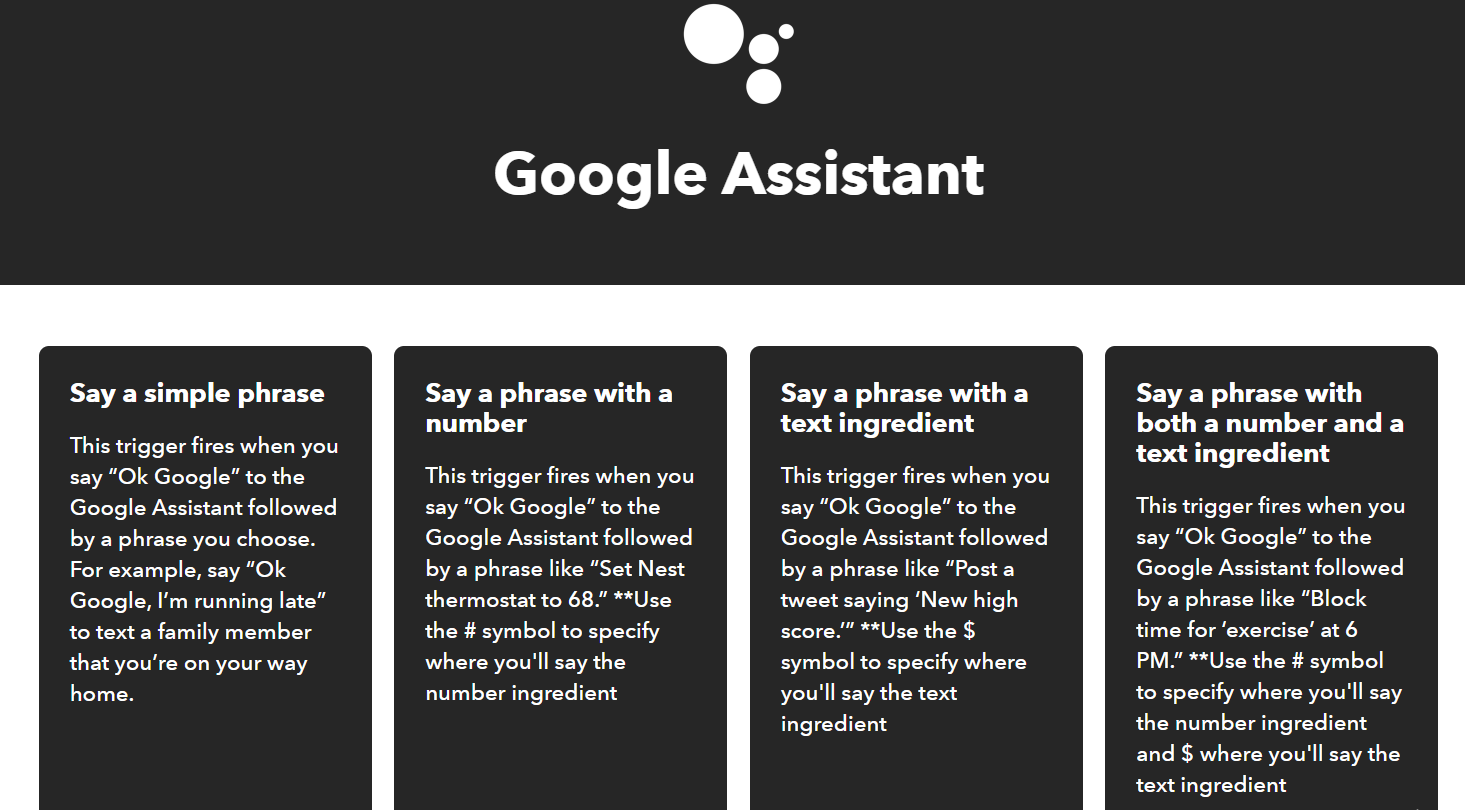
Select the “Say a simple phrase”.
-
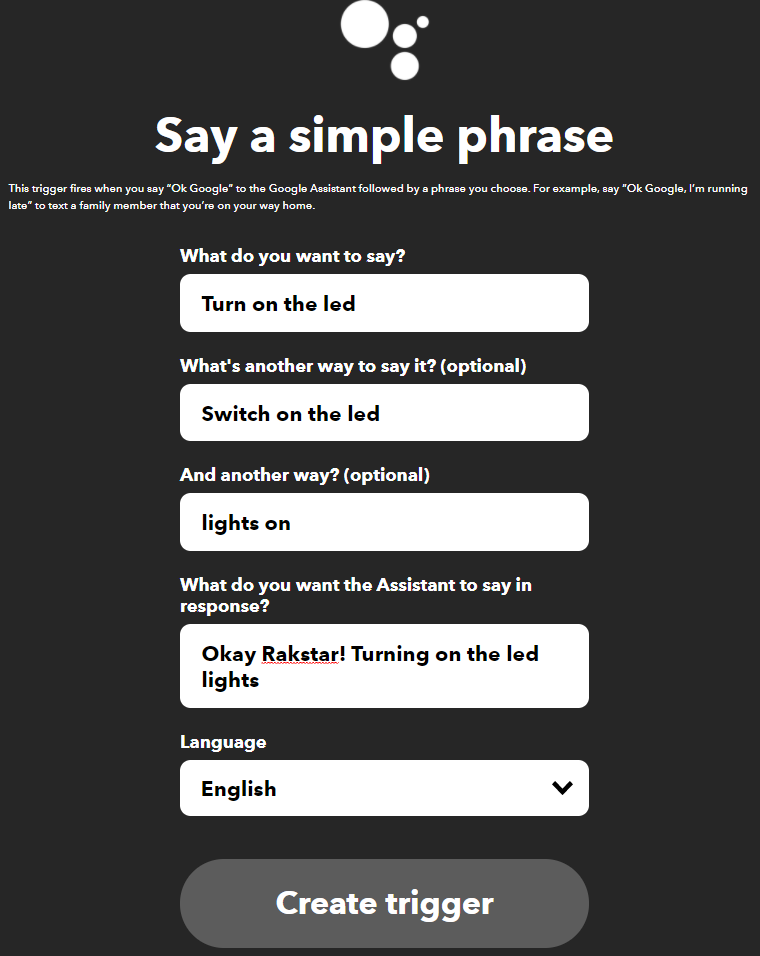
In the following step, you need to fill the fields with the Google Assistant to switch the relay and turn our RGB LED light on.
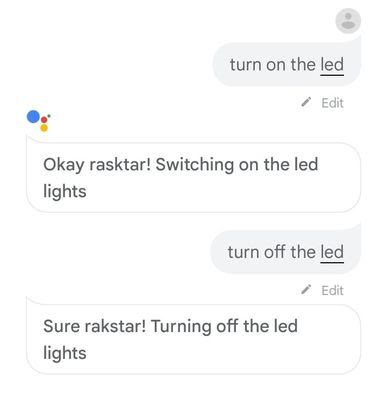
For example:- What do you want to say? “Turn on the led”
- What's another way to say it? (optional) “Switch on the led”
- And another way? (optional) “Lights on”
- What do you want the Assistant to say in response? “Okay Rakstar! Turning on the led lights”
- Language: English
- Click Create Trigger
-
When the Trigger is already set, it’s time to create the action “Then That +” and choose Webhooks as action service:
-
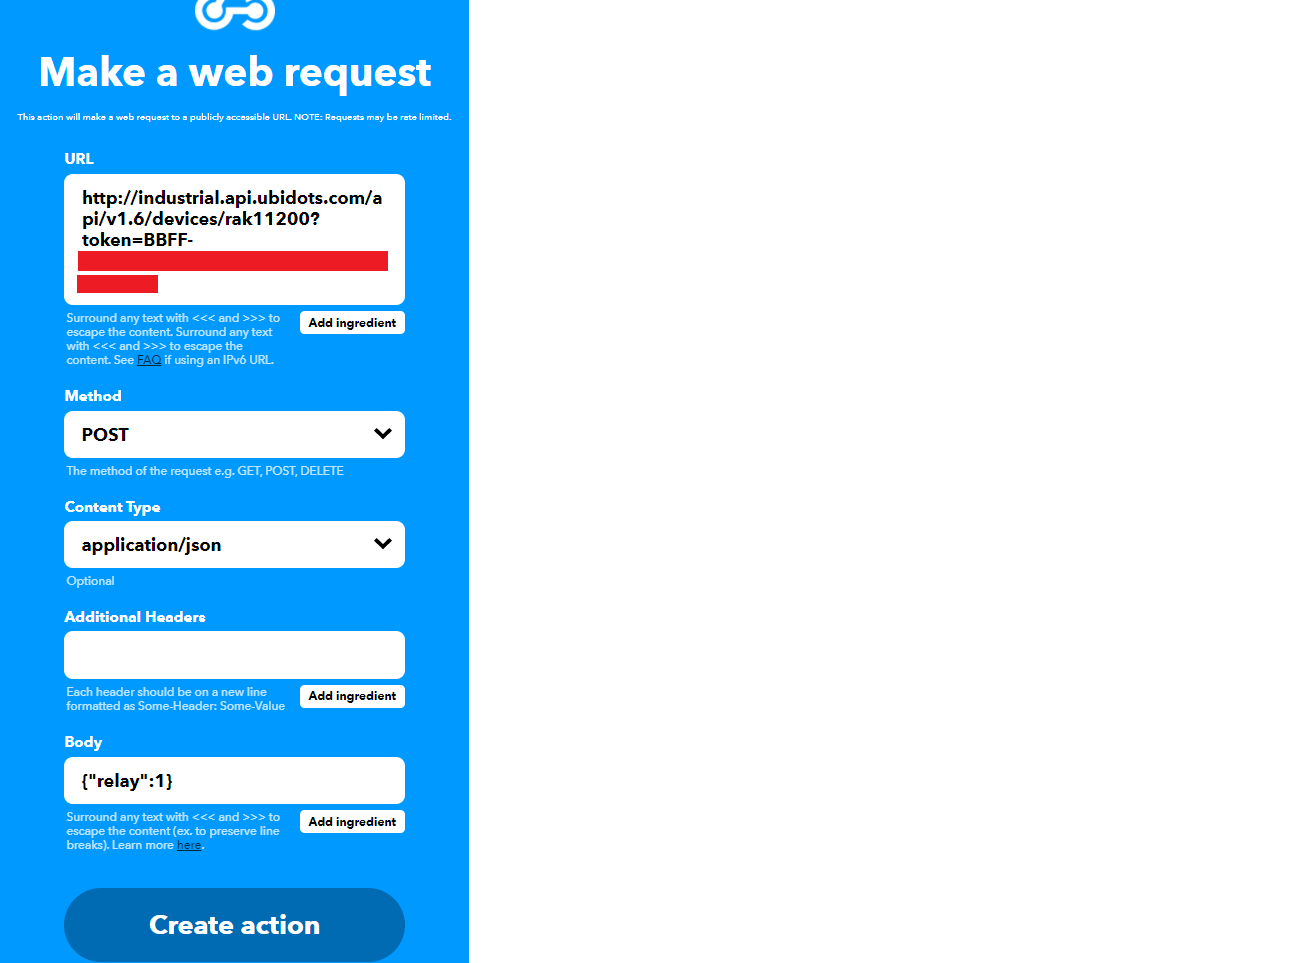
Make a web request and fill the fields of the WebHooks setup with the following parameters:
- URL: http://industrial.api.ubidots.com/api/v1.6/devices/{DEVICE-LABEL}?token={YOUR-UBIDOTS-TOKEN}
- Method: POST
- Content Type: application/json
- Body:
{"relay":1} - Just press Create action to finish.
-
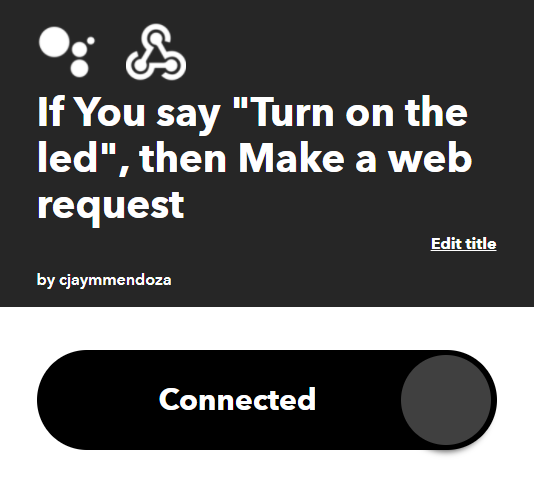
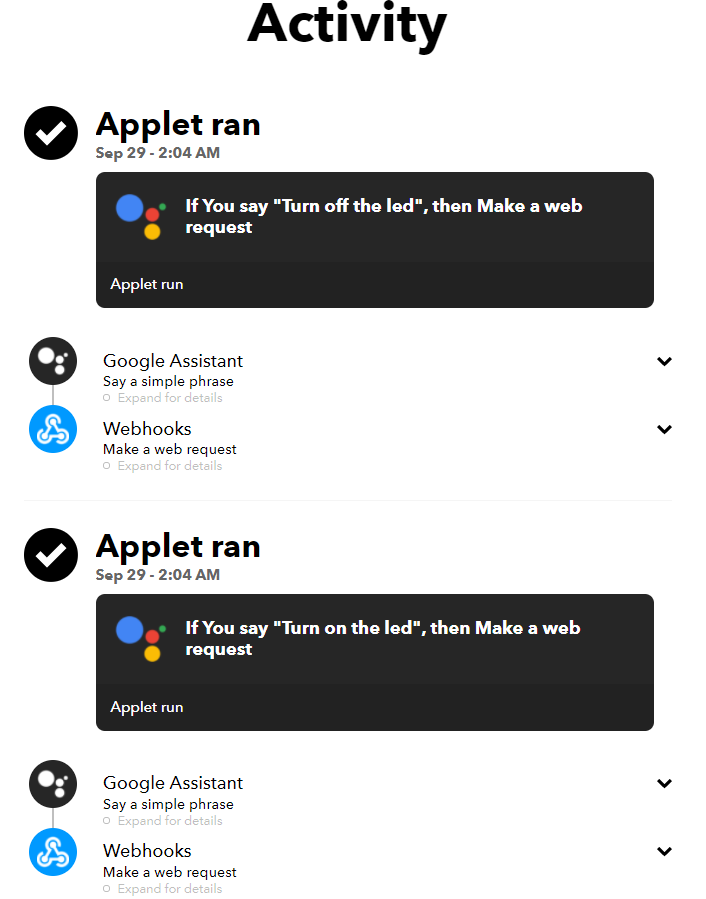
Once the trigger and the action are properly configured and connected, you can now download and go to your Google Assistant and say “Turn on the led” and listen to the response of the Google Assistant and see how the relay is turned on to switch the RGB LED strip.
-
Repeat the same process to create the applet to switch again the relay to turn off the RGB LED strip. All the previous steps provided are the same, the only differences are mentioned below:
- Trigger Configuration (Google Assistant): switch “on” for “off”
- Action Configuration (Webhooks): the body should be {"relay":0} to switch off the relay
-
Once both applets are created and connected, you’re done! Congratulations Rakstar! you can now control and automate your devices using Google voice command.
Now, you have a smart home application for remotely controlling your devices by using Ubidots and Google Assistant!
Read more on WisBlock Integration with Blynk