WisBlock Integration to Blynk

With RAKwireless’s variety of sensors and modules, you may think of endless project possibilities and one of those could be thinking of a way to integrate your project into a web or mobile dashboard for monitoring and control purposes.
And this is where the Blynk platform will come in handy – with little to no background in web development, you can create your own IoT Dashboard.
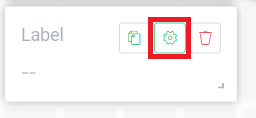
Edit the widget by clicking this
This platform offers two (2) dashboards for your project:
- Mobile
- Web
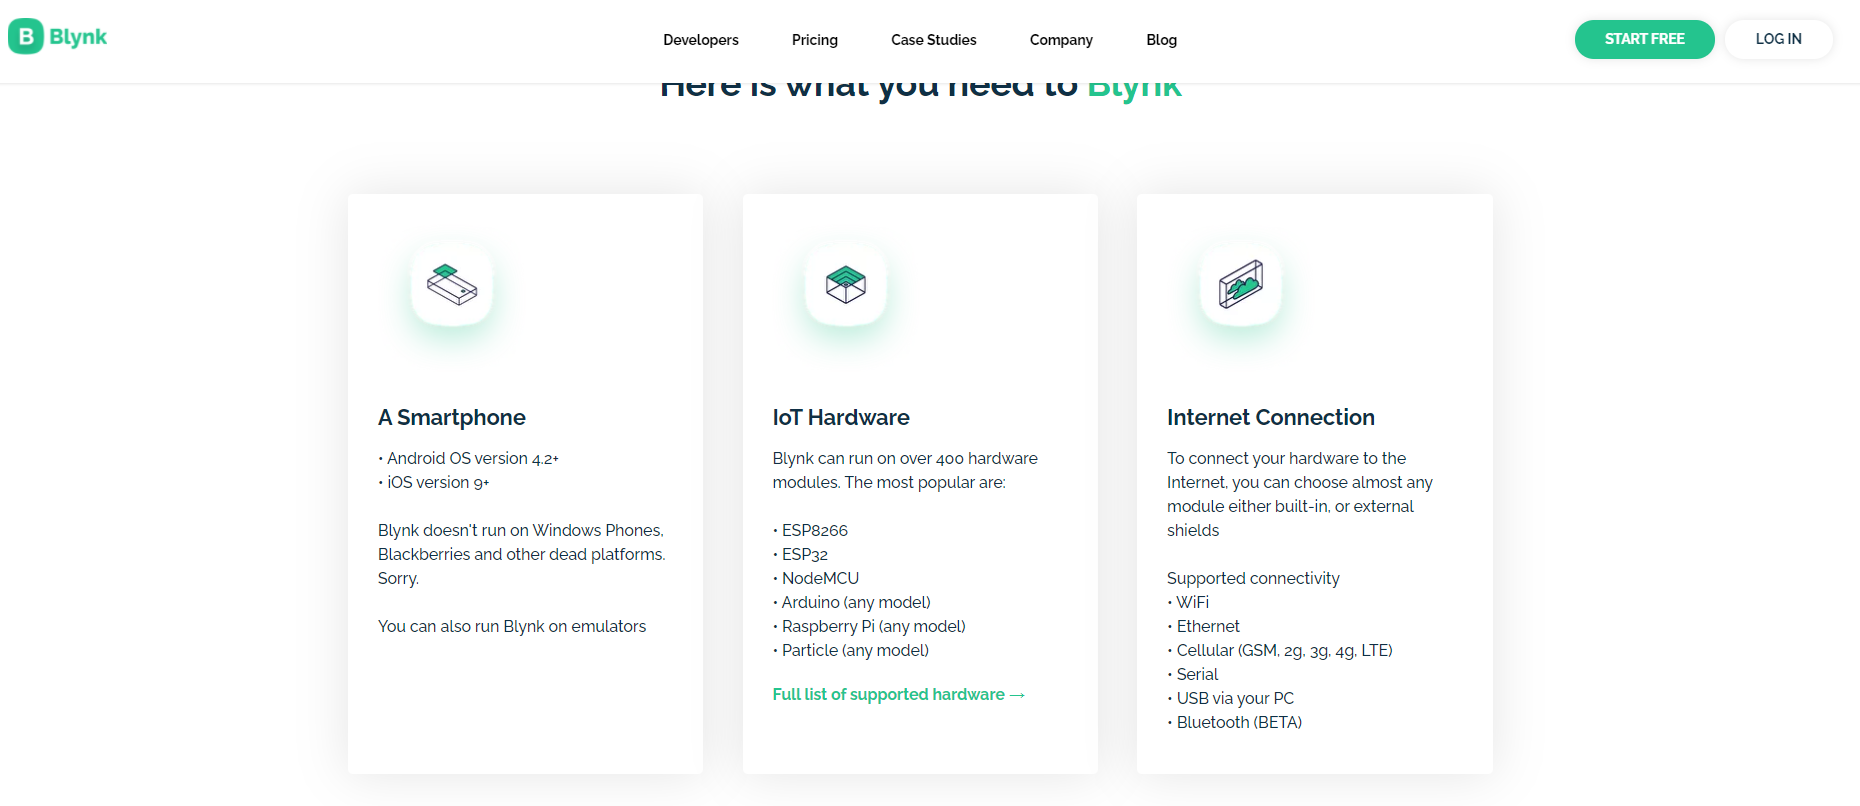
To help you start, you will need the following devices and follow the steps outlined below:
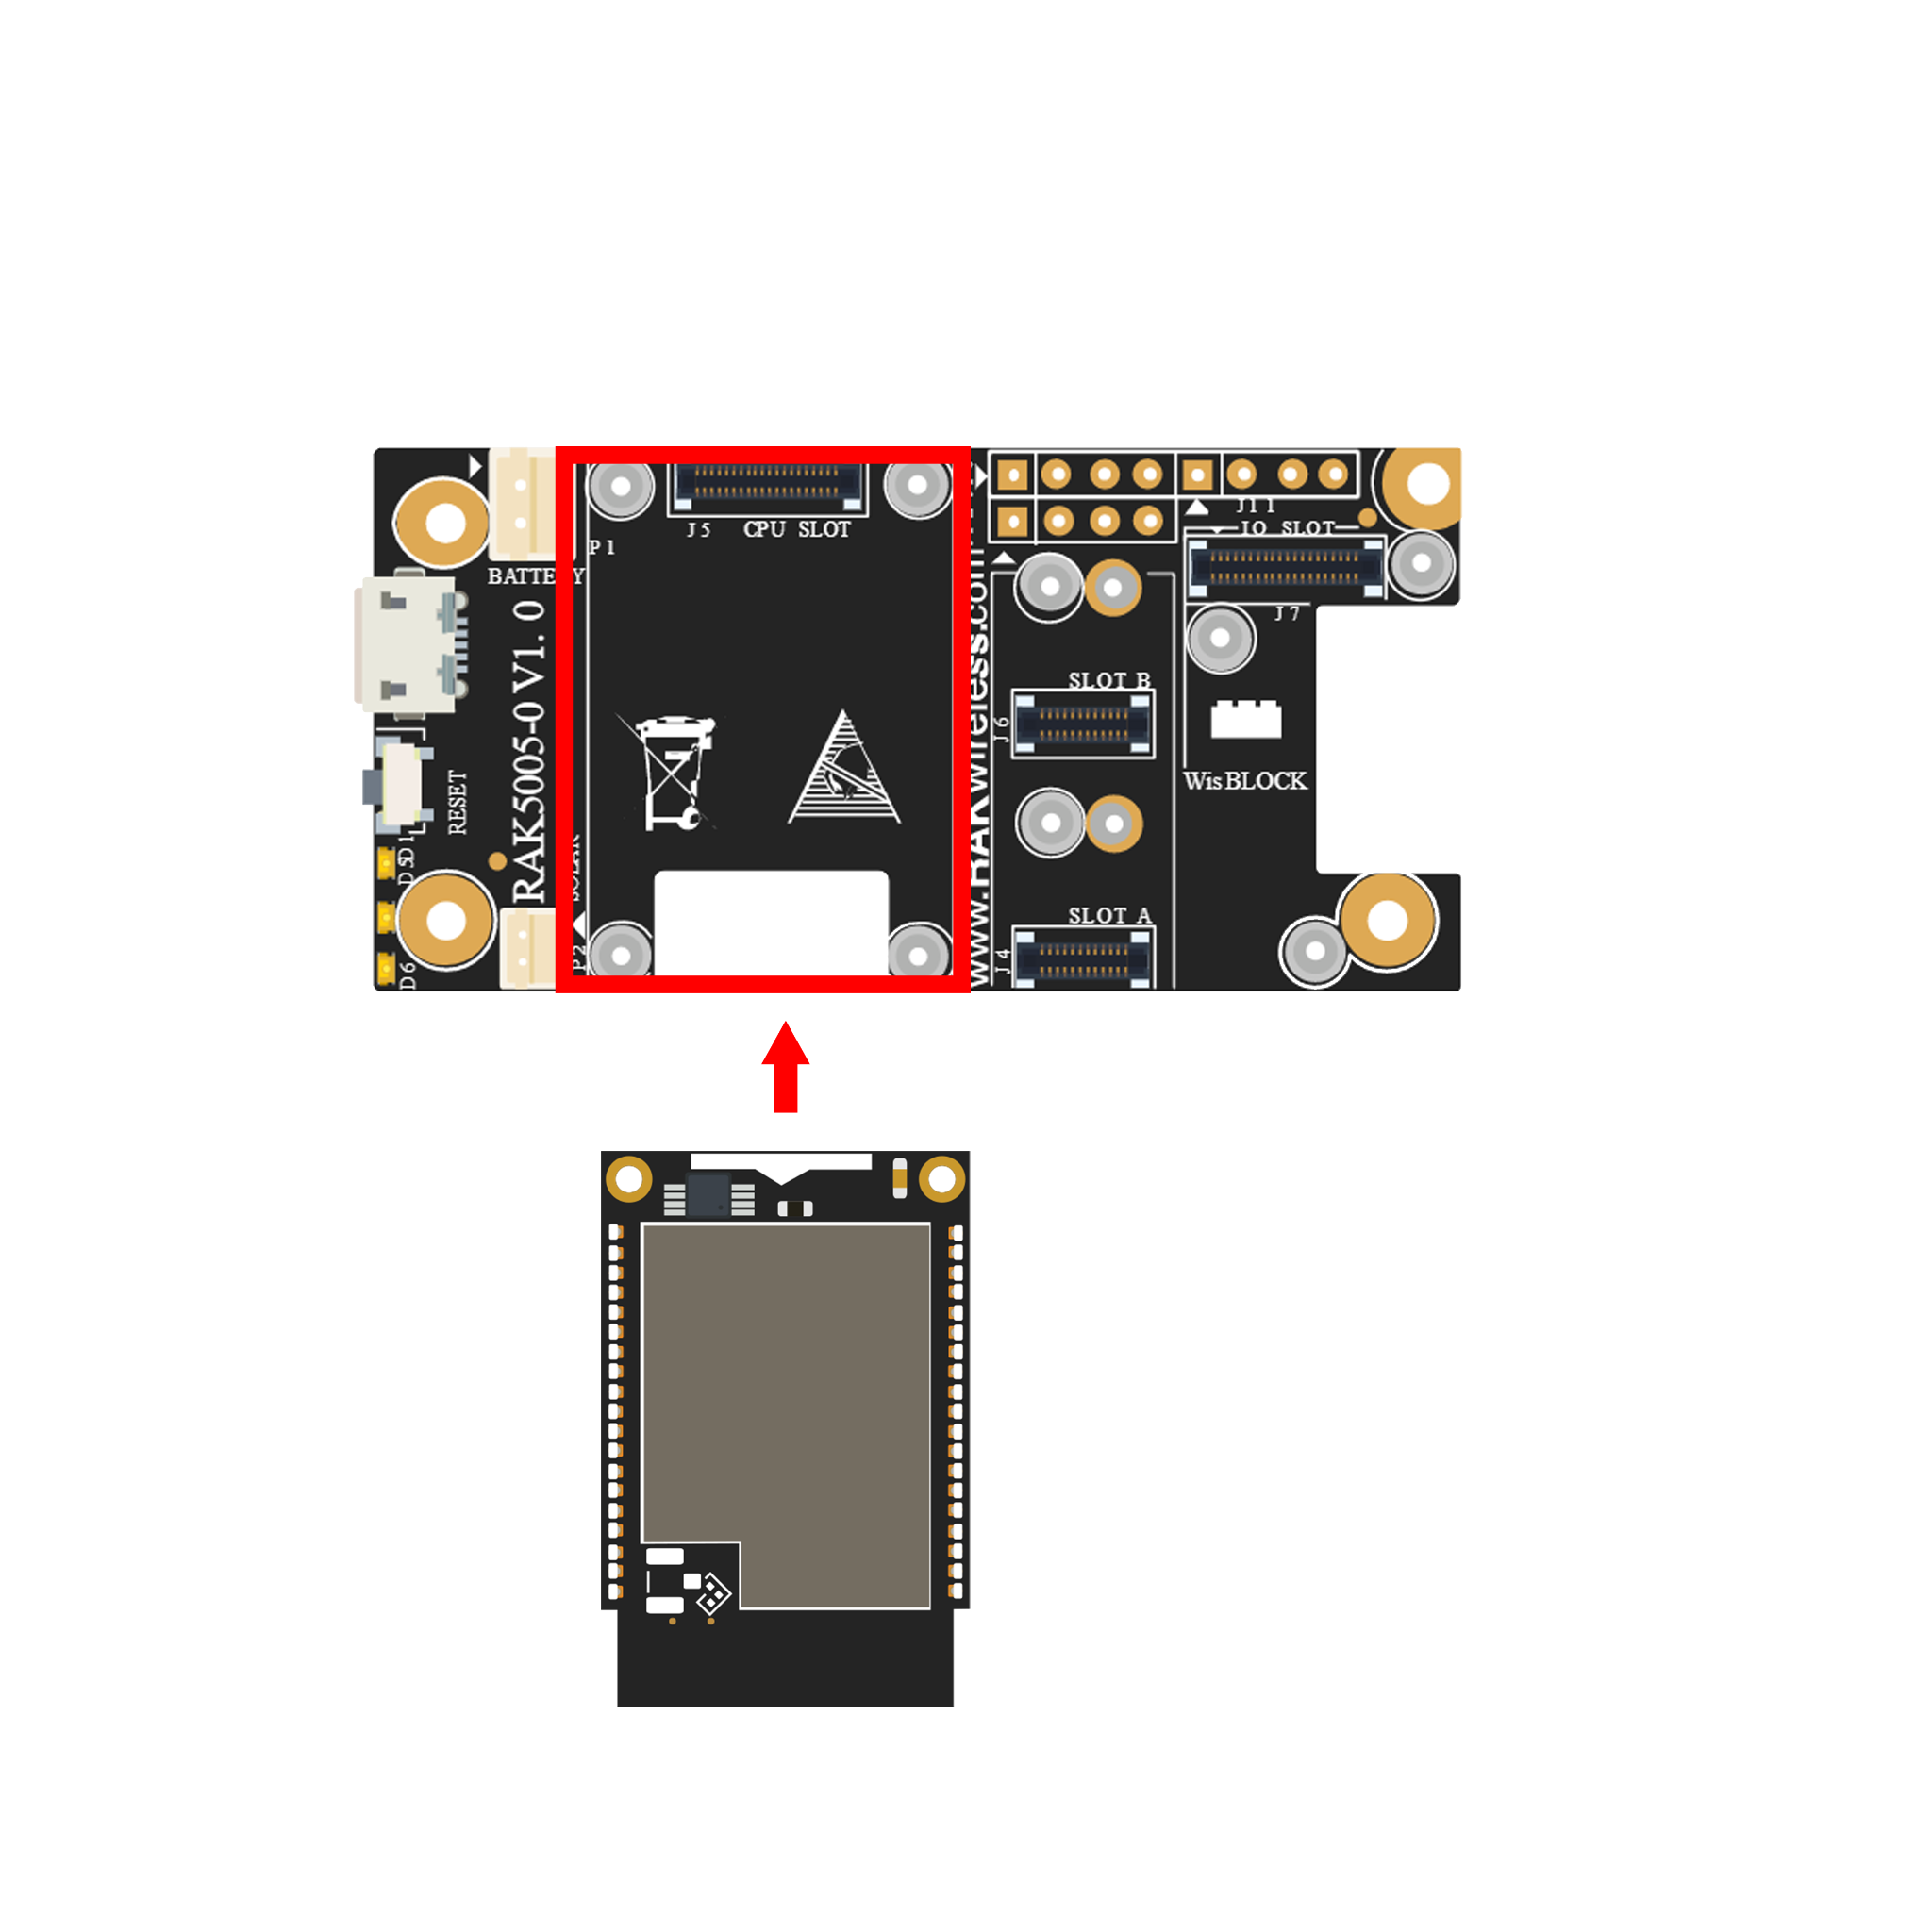
- Wisblock Base Board (RAK5005-O)
- RAK11200 ESP32 Module for WiFi
- Wisblock Infrared Temperature Sensor (RAK12003)
1. Creating Blynk Account
To create your Blynk Account, you must go to https://blynk.cloud/dashboard/register
Enter your email address and wait for confirmation on your email account.
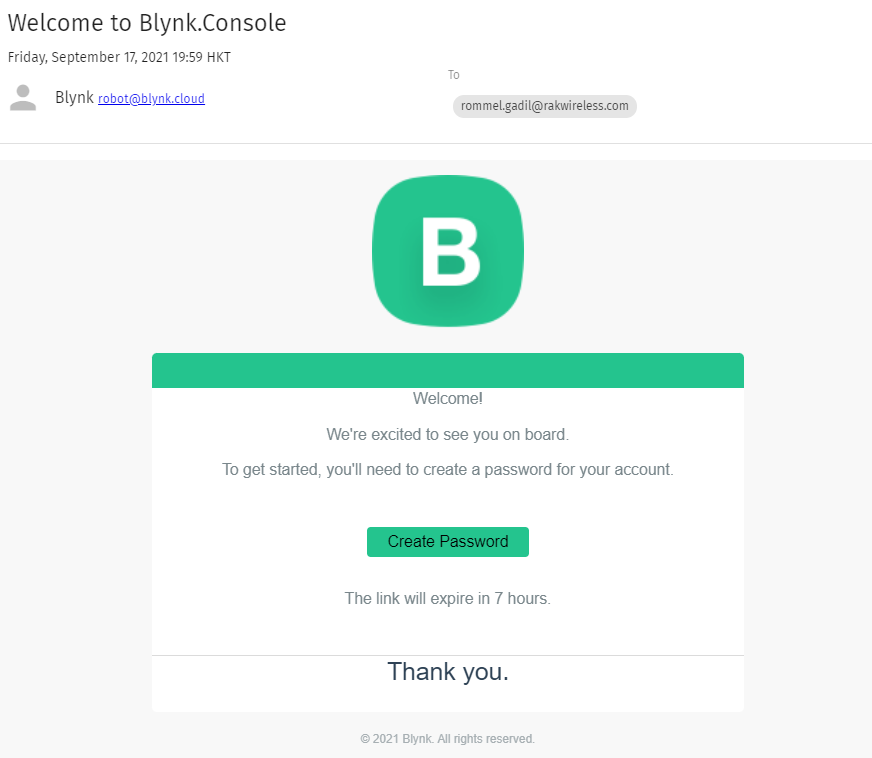
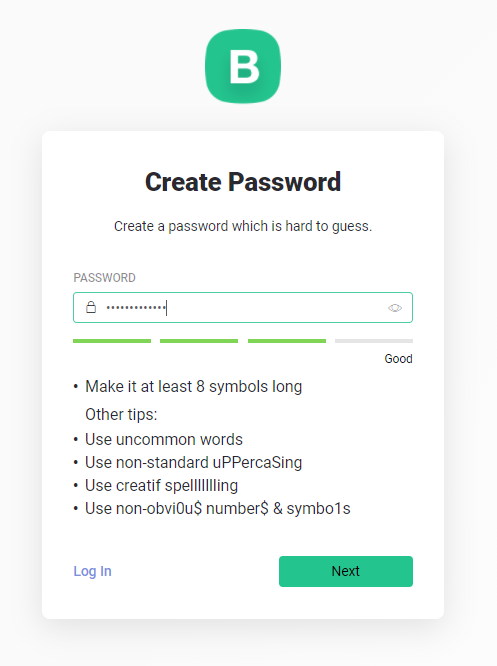
Create your password.
2. Follow the Quickstart Guide by Blynk
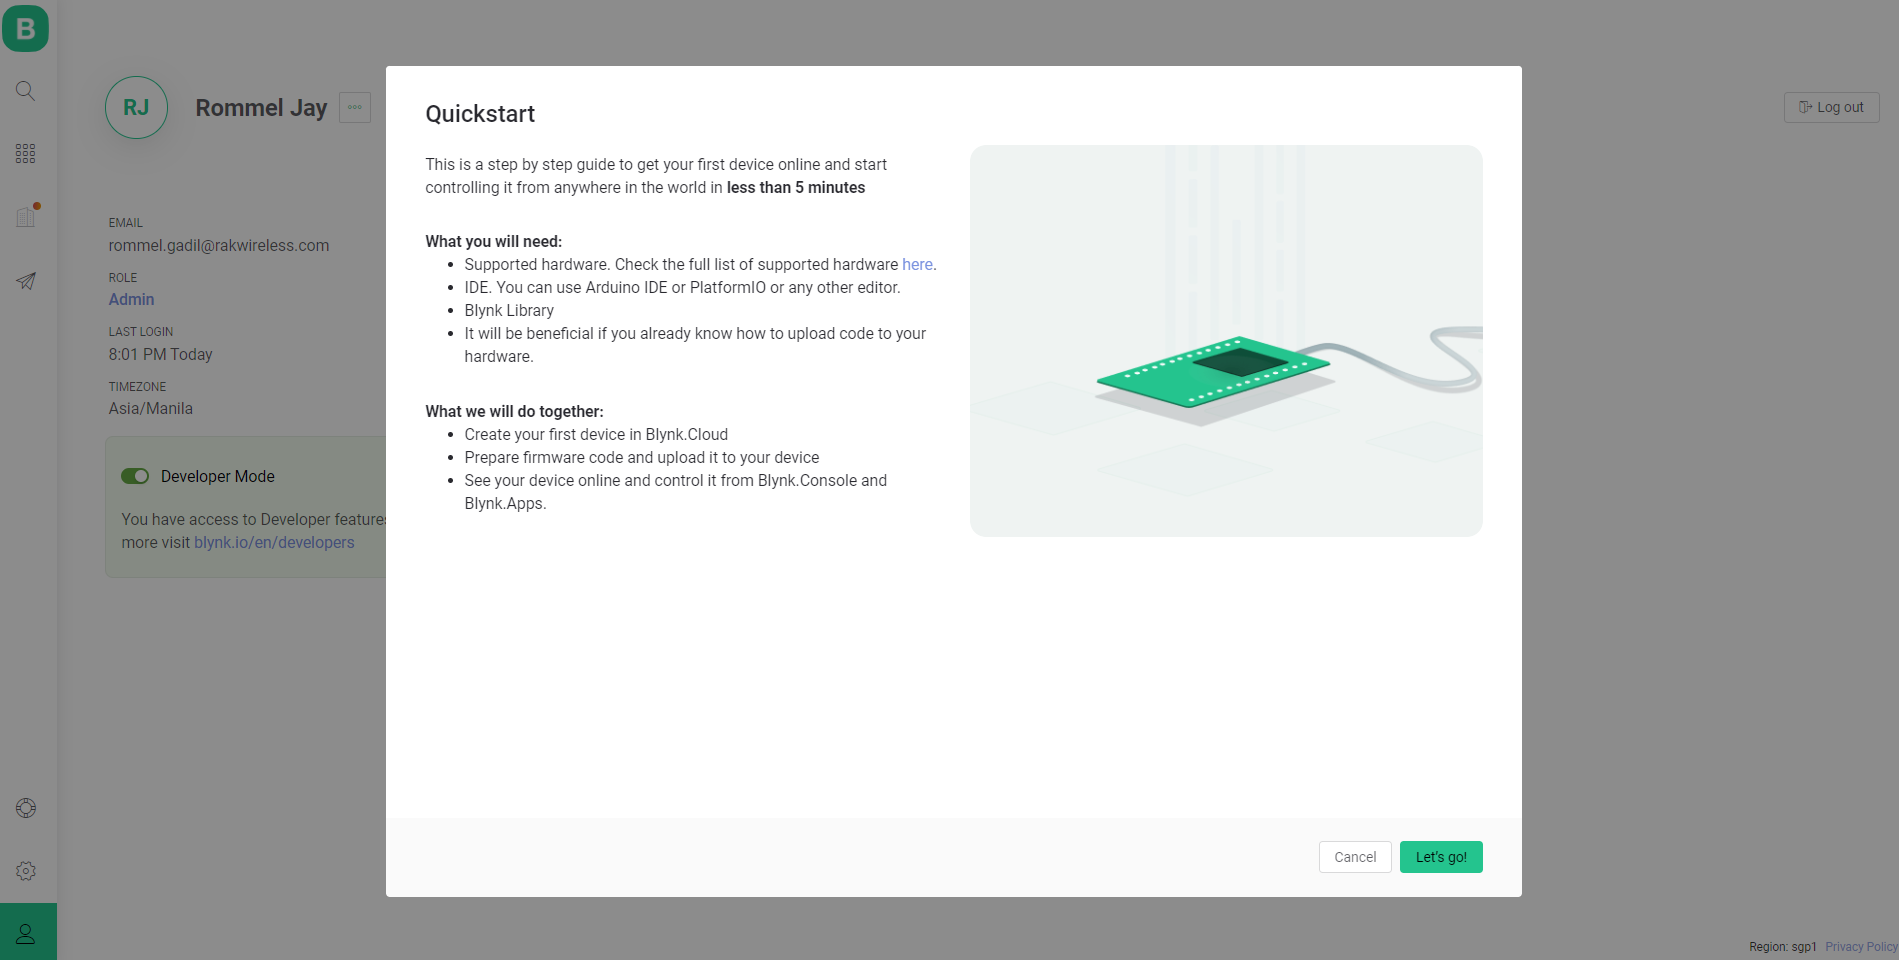
In selecting the hardware, choose ESP32 since RAK11200 is based on Espressif ESP32-WROVER.
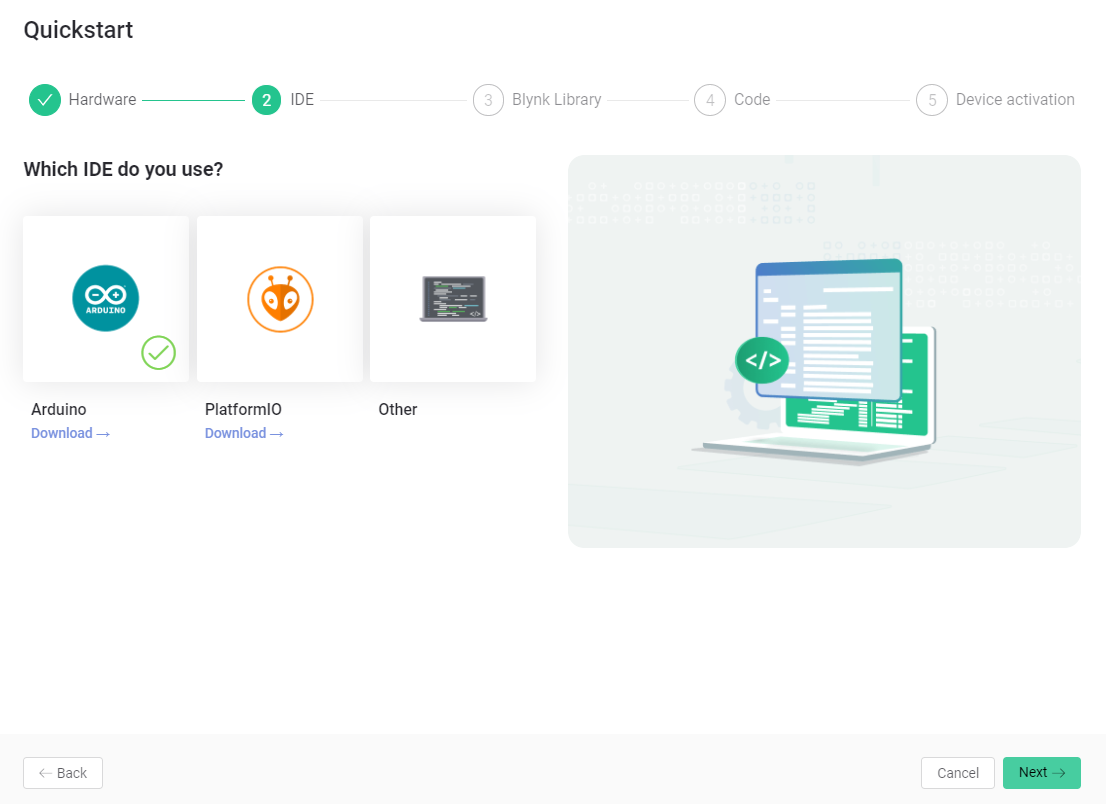
Choose the IDE of your choice. For this example, we will be using the official Arduino IDE.
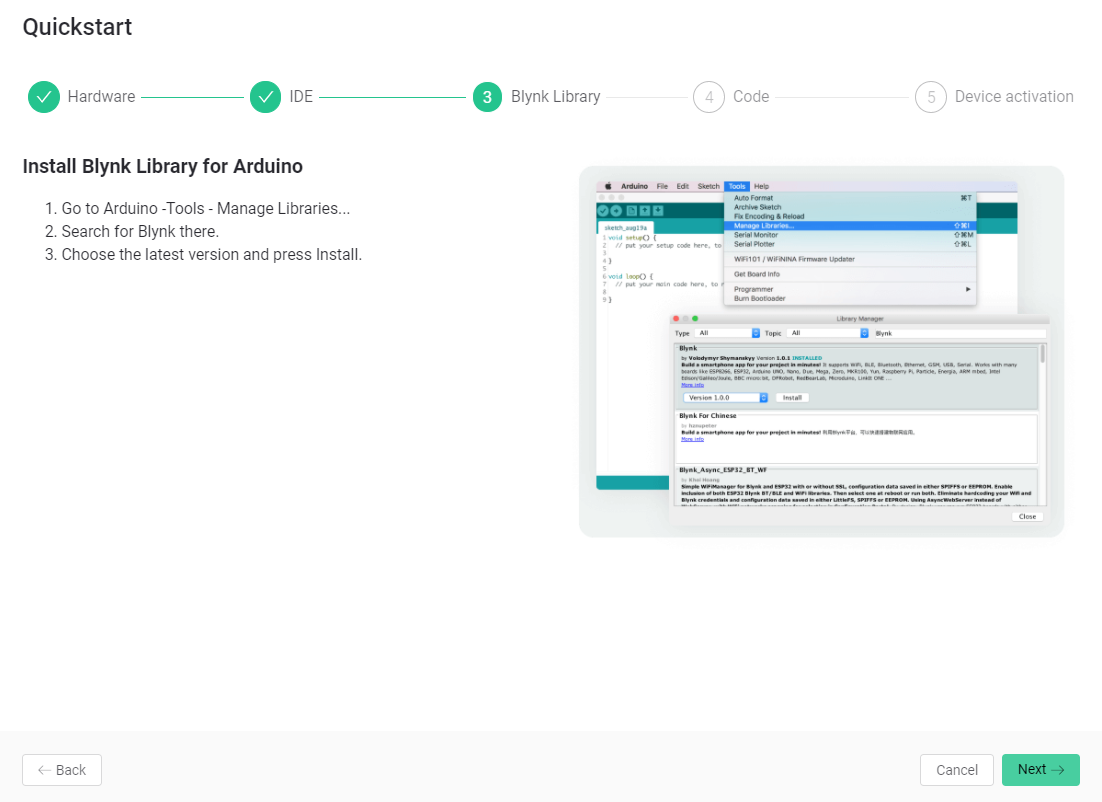
Install the Blynk Library for Arduino
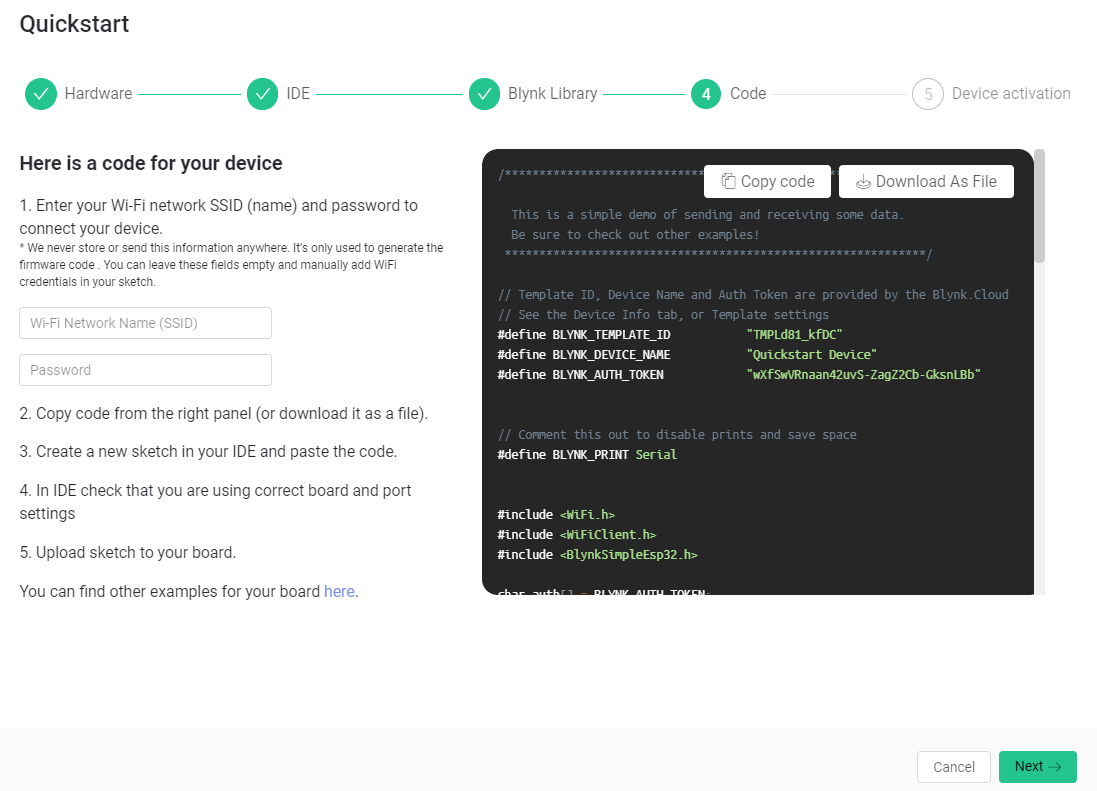
You may enter your WiFi Credentials. Copy the code.
COMMENT: Please remove that they can do it later. If they do not put the SSID or Password and copy the code, they will not be able to connect.
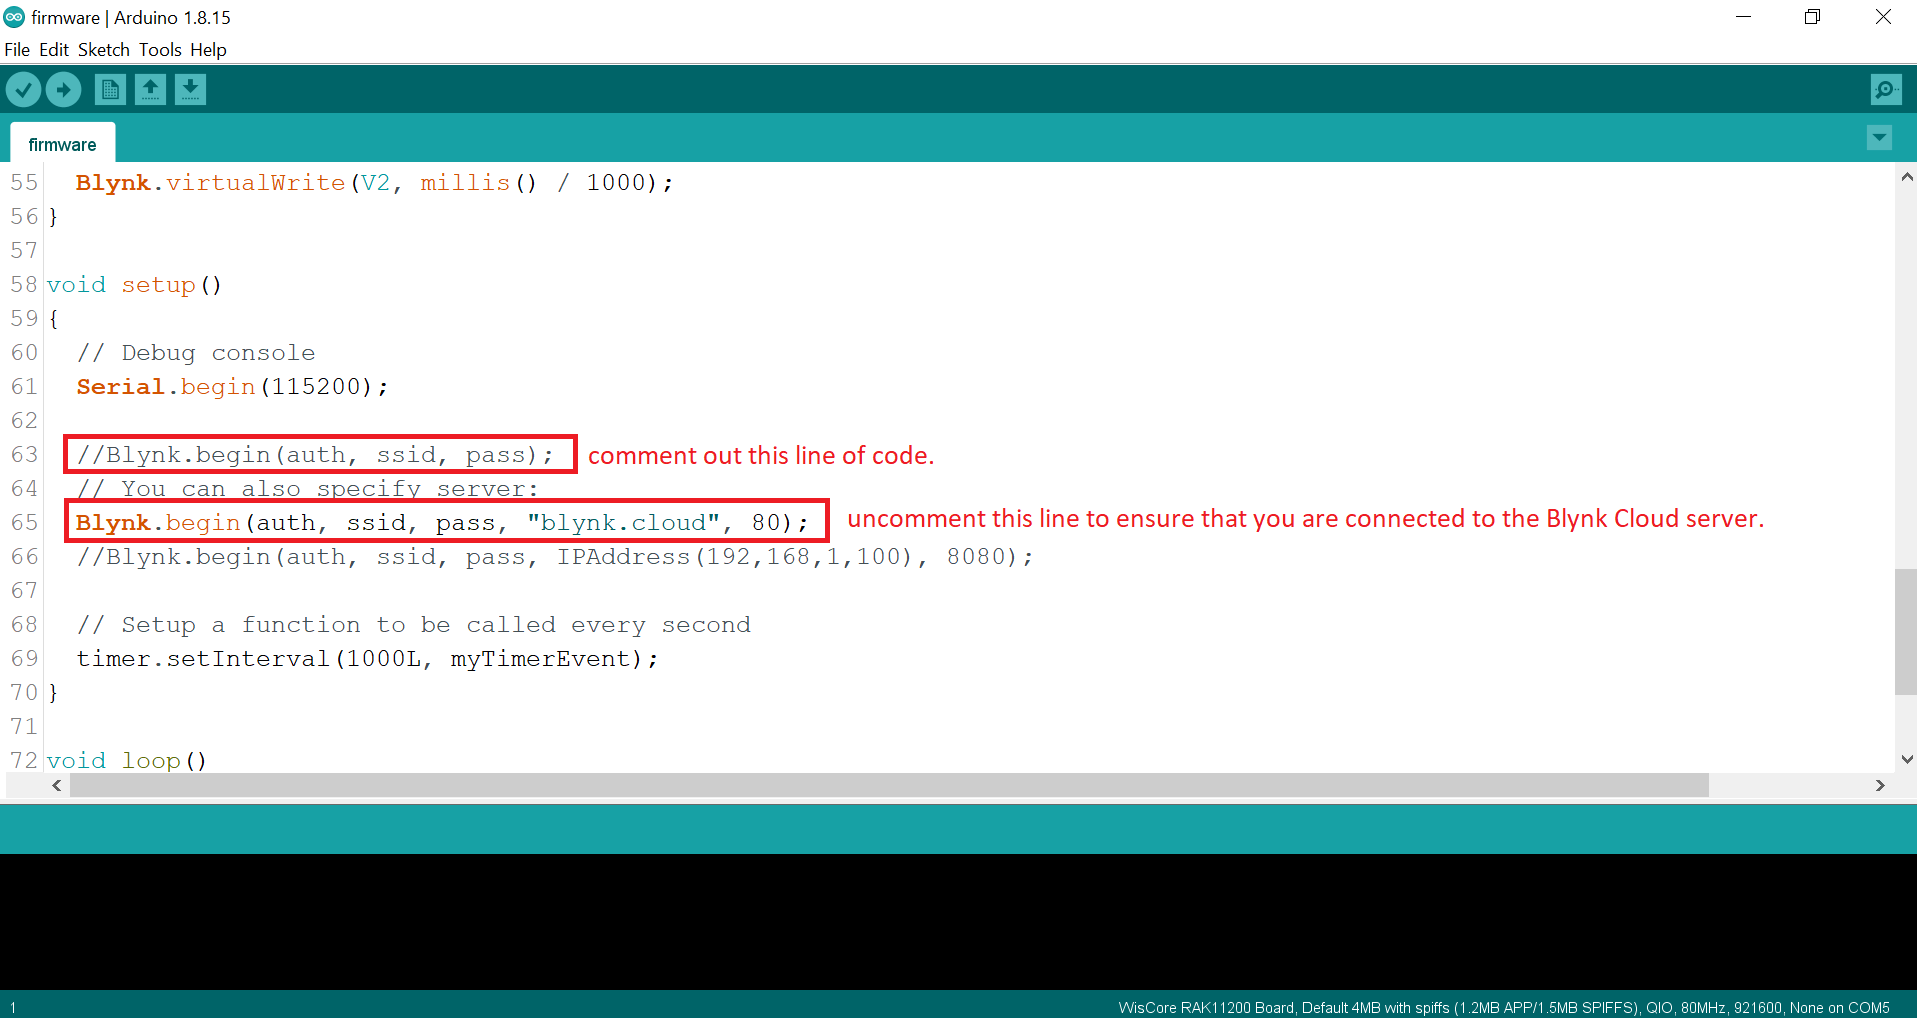
It is important to make sure that you are connected to the Blynk Cloud Server by following the instructions stated in the image.
After that, you may now upload your code.
NOTE:
Before uploading the code to the RAK11200, please make sure to press the reset button first while BOOT0 pin and GND pin are shorted (as shown in the image below). You need to press the reset button again after successful upload.
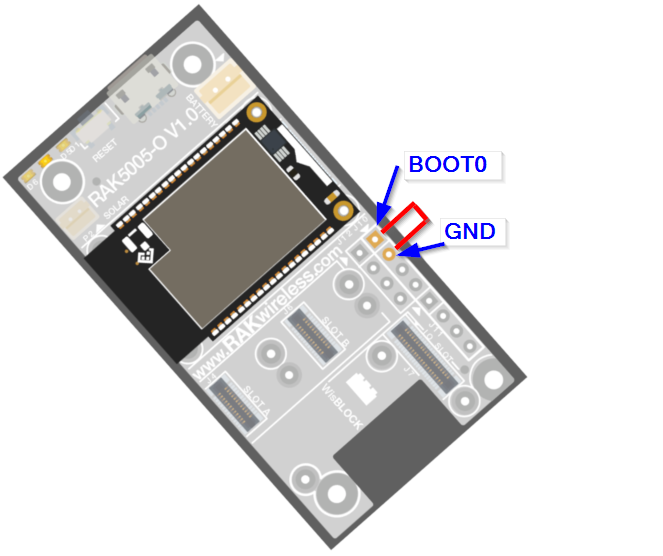
Note that RAK11200 requires the BOOT0 pin to be configured properly before uploading. If not done properly, uploading the source code to RAK11200 will fail. Check the full details on the RAK11200 Quick Start Guide.
Upon successful upload you can open your serial monitor and see this message:
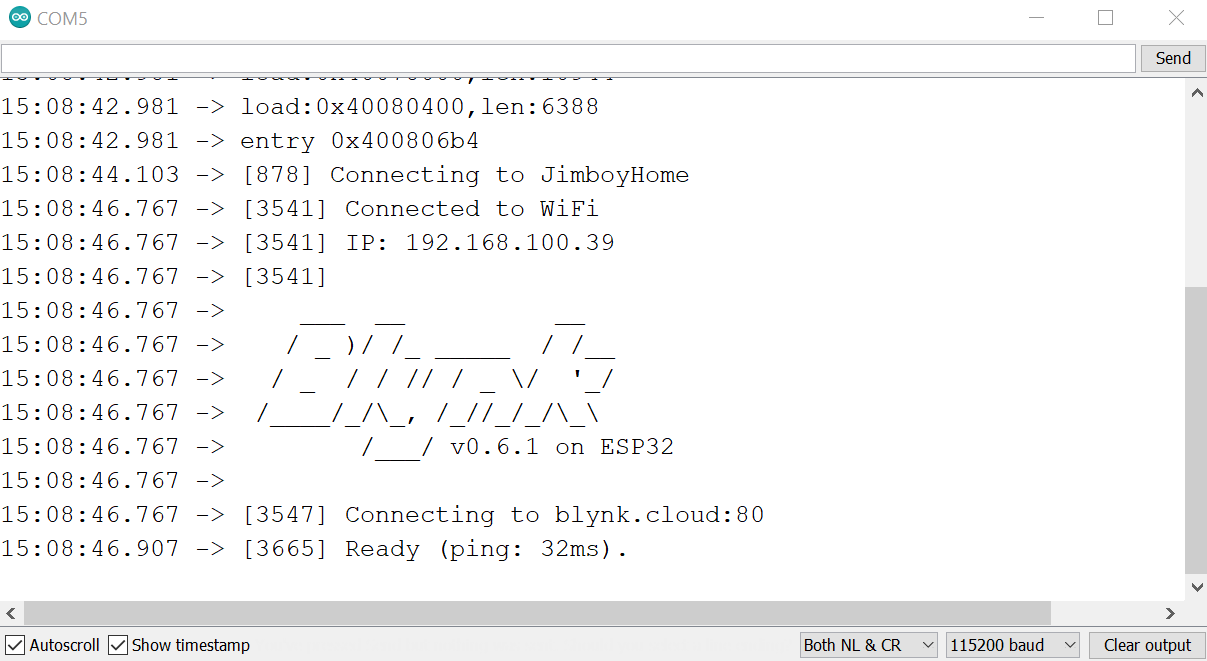
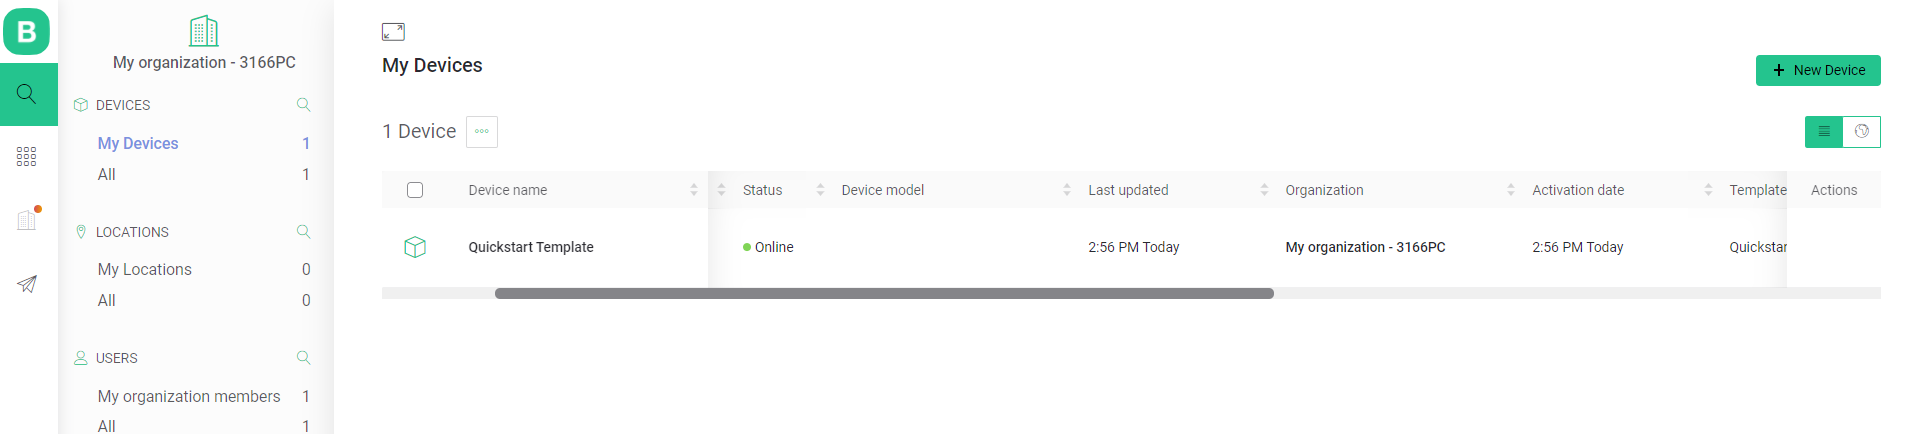
Also, you will see that your device is online in your Blynk Console
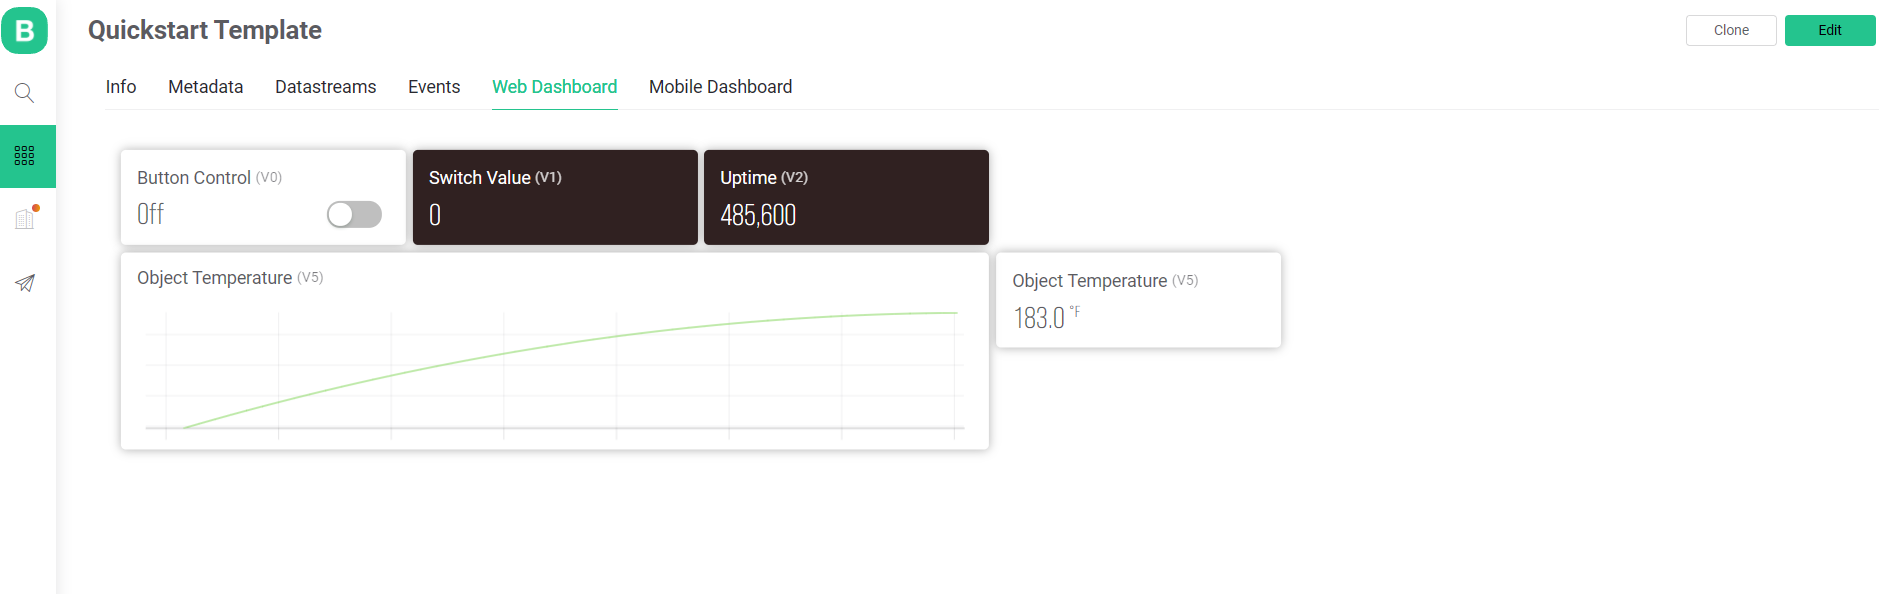
If you go to your Web Dashboard, you can see this generated

3. Adding sensors or other modules to the platform.
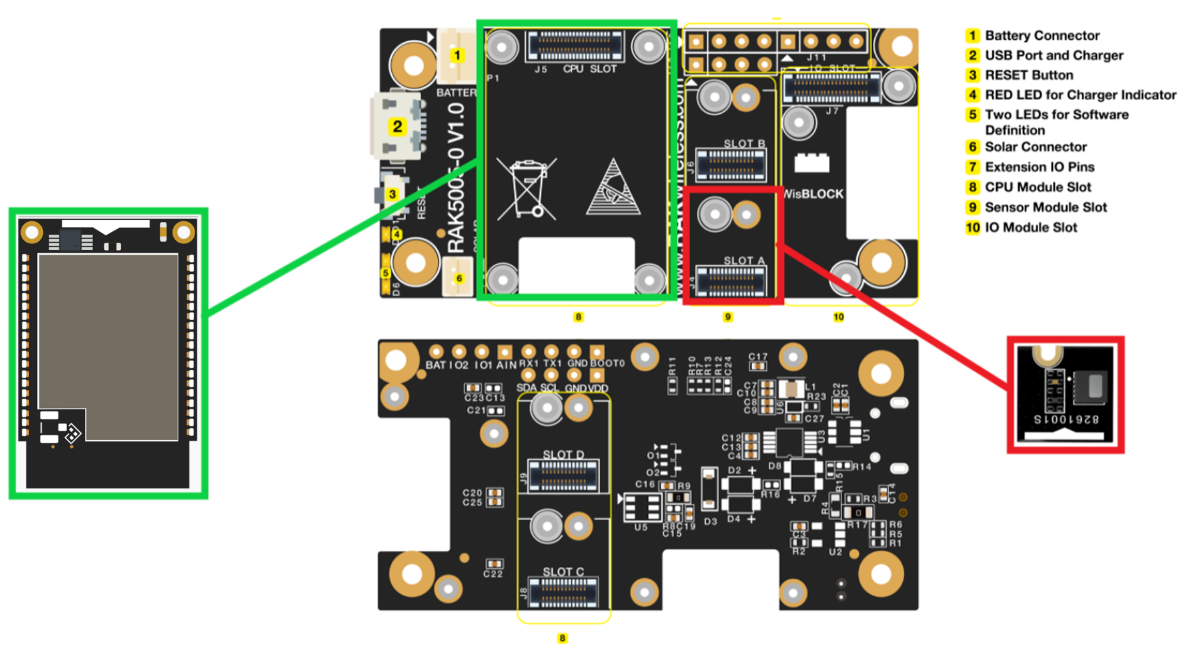
Attach your RAK12003 to the Wisblock Base Board.
Click here to get the code.
We just added functions for the RAK12003 and mixed it with the Blynk generated code earlier.
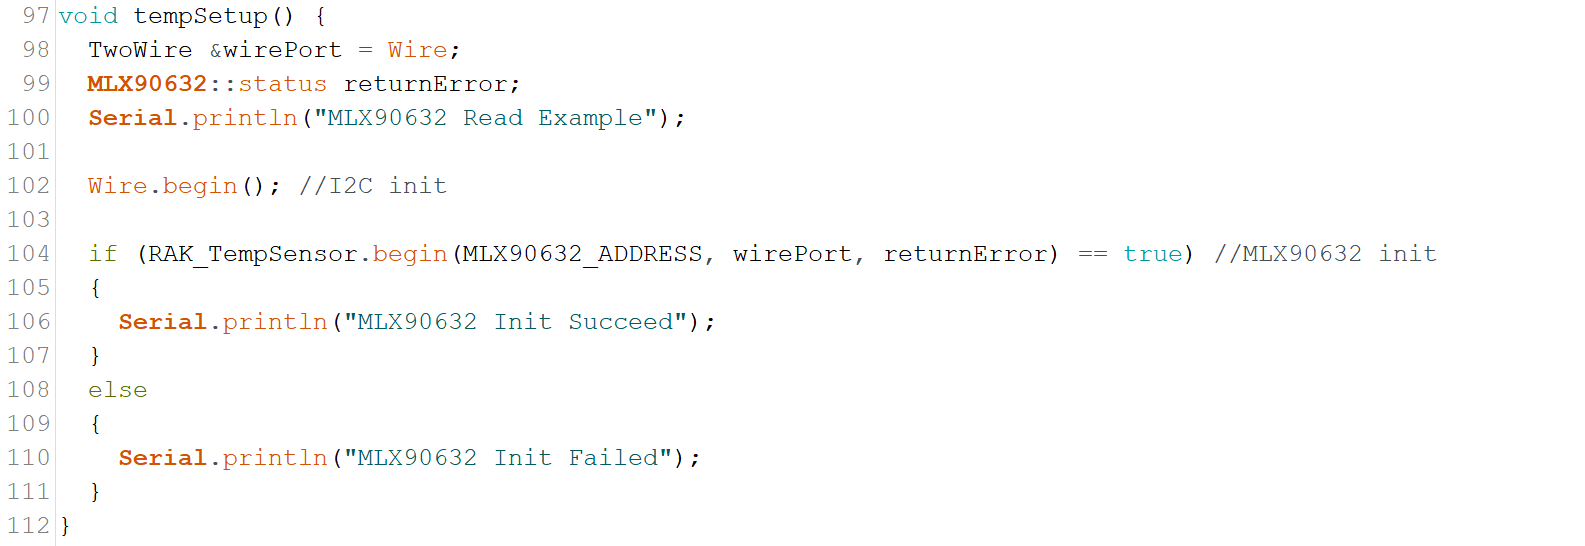


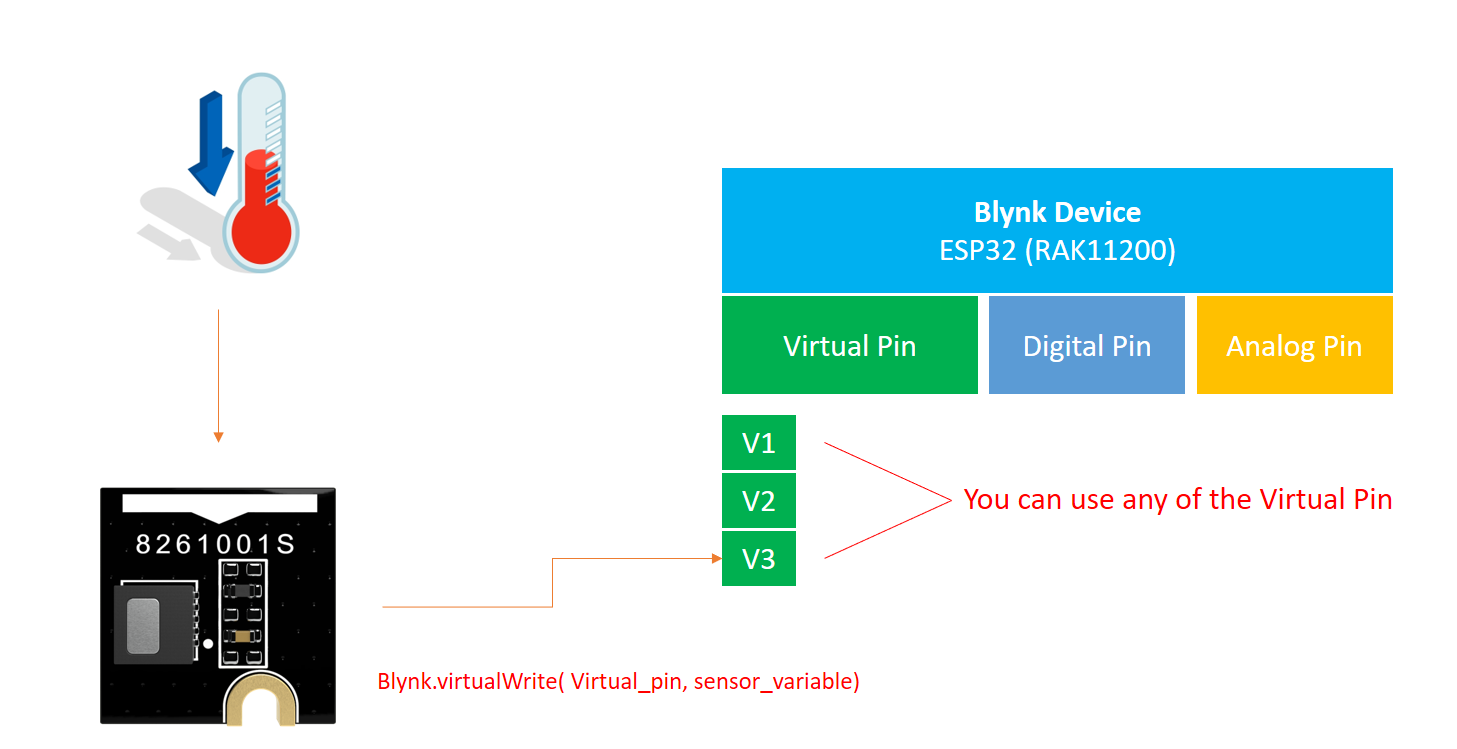
Virtual pins are used to send sensors’ data to the Blynk Platform. In this example, we use RAK12003 Wisblock Infrared Temperature Sensor. But you could use any sensor of your choice, just add the variable where you store your sensor data in Blynk.virtualWrite function’s parameter.
Double-check your credentials:
● Blynk Authentication Token - this is automatically generated on the template or check on My Devices > Your Device Name > Device Info
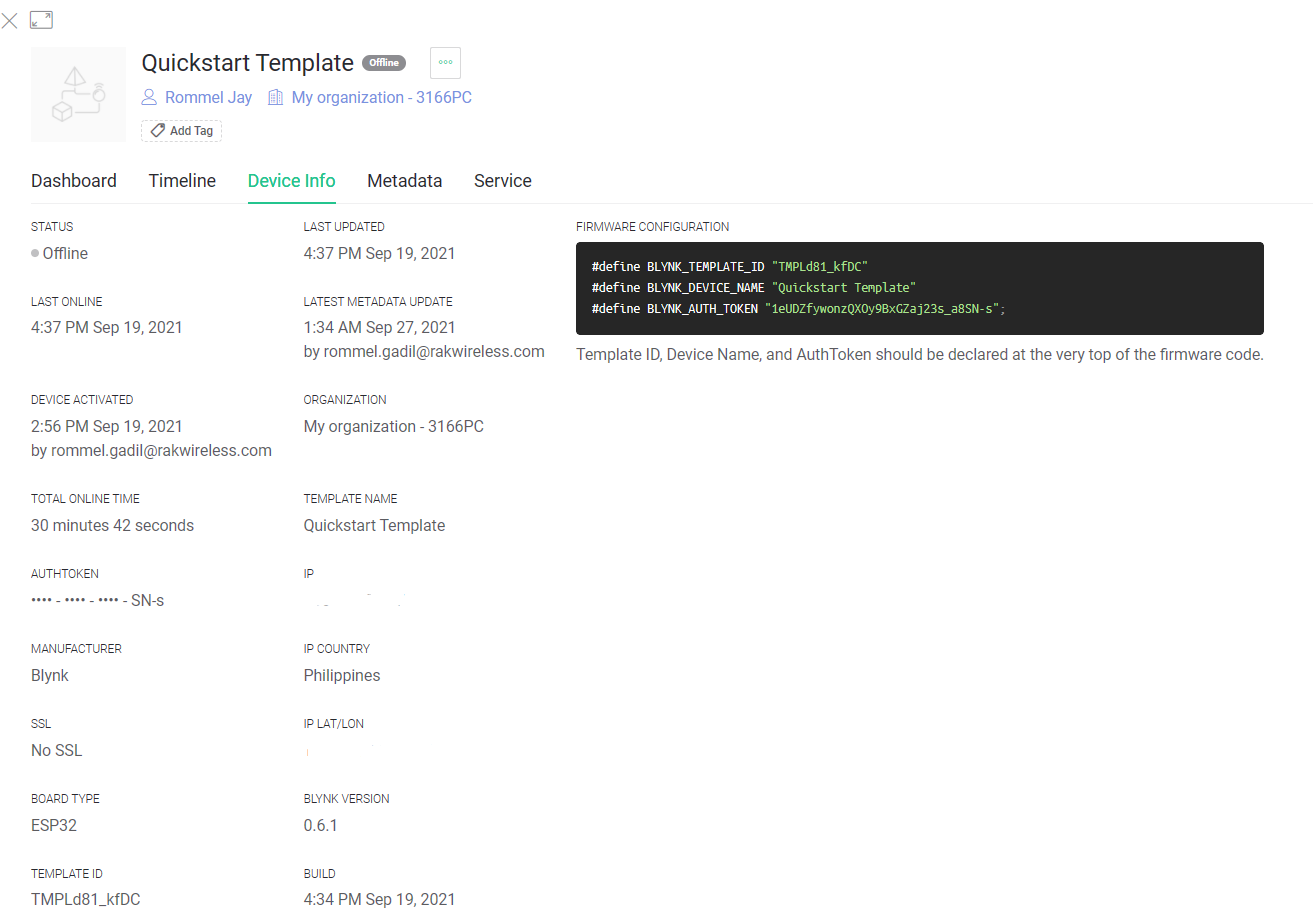
● WiFi SSID and Password
Then you can proceed to uploading your code. Remember to short the BOOT0 and GND Pin and press the reset button before uploading, and press the reset button again after a successful upload to run your newly uploaded code.
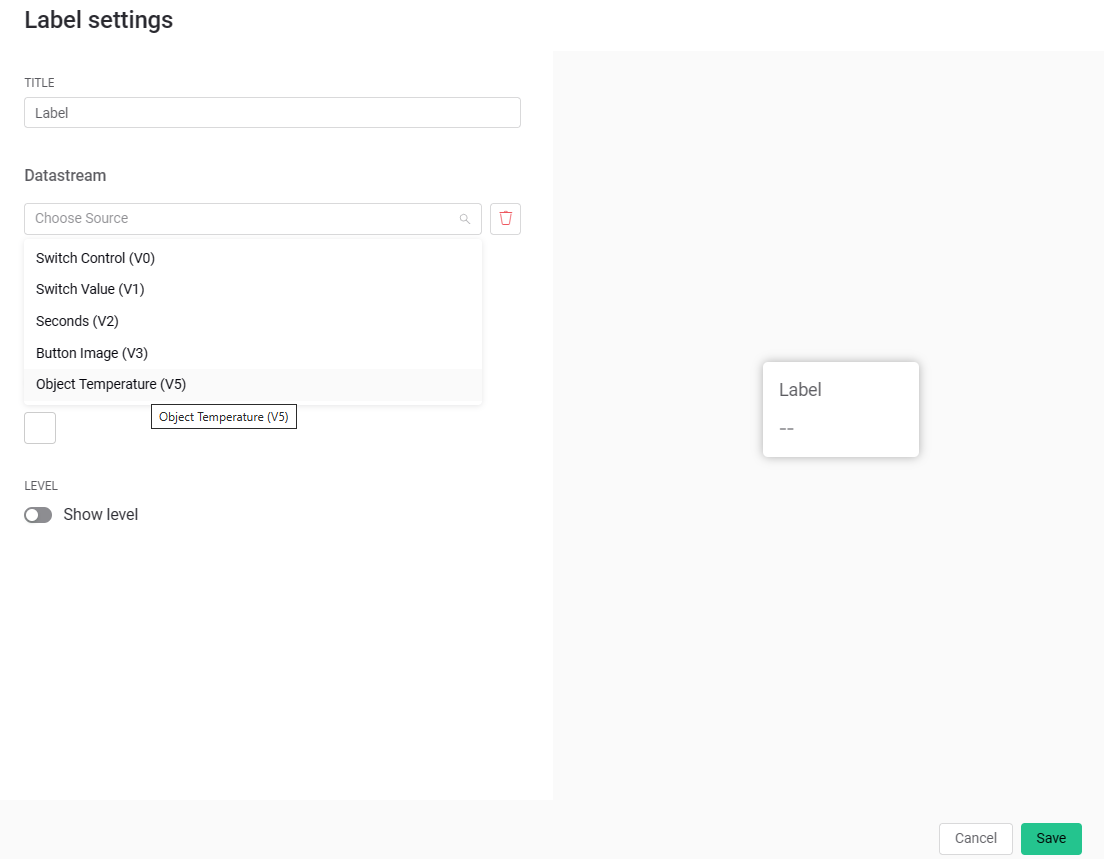
To integrate sensor data you must add a new data stream in the Datastreams settings in your console.
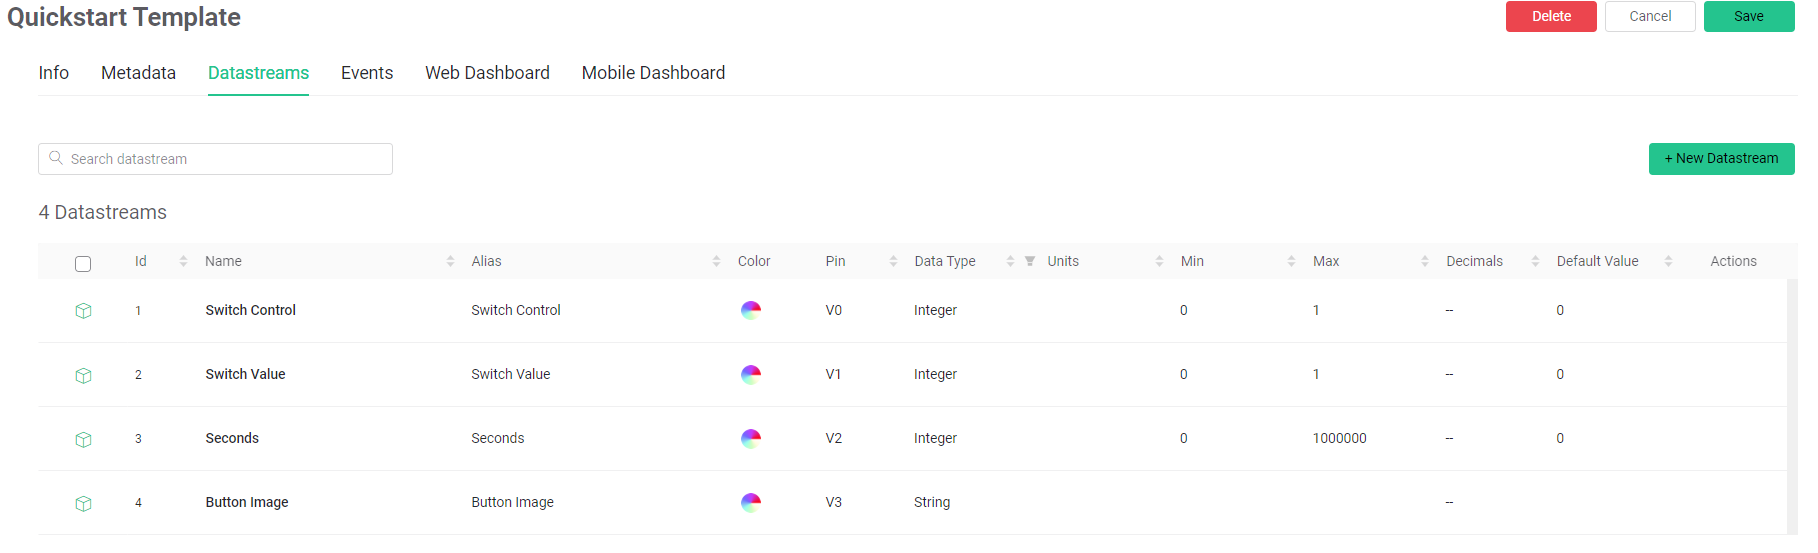

You can use virtual pins to attach the sensor’s data.

This code will write the data into the V5 and can be later used in your dashboard.
4. Creating Dashboard Widgets from your Datastream
A dashboard widget can be a label, chart and etc. See the list of widgets here.
To create a web dashboard widget, go to web dashboard and click edit. Then drag and drop your desired widget.

Edit the widget by clicking this button
Set your desired settings for your widget. And don’t forget to attach the Datastream.
5. Final Thoughts and Project Suggestions
The Blynk platform really makes our project more interactive without needing to learn or doing actual web and mobile development. This is really a great tool to create awesome projects such as:
● Weather Monitoring Station
● Greenhouse Monitoring and Control
● Hydroponics and Aquaponics Projects
● And many more.
Plus this platform is FREE. Although an upgraded version for larger organizations and for map integrations features are available, the free version is more than enough for the projects I have mentioned above.
What projects do you think this platform can help you with? What ideas do you have in mind?
With this platform and RAKwireless products, the sky really is the limit!