

WisNode - LoRa Quick Start

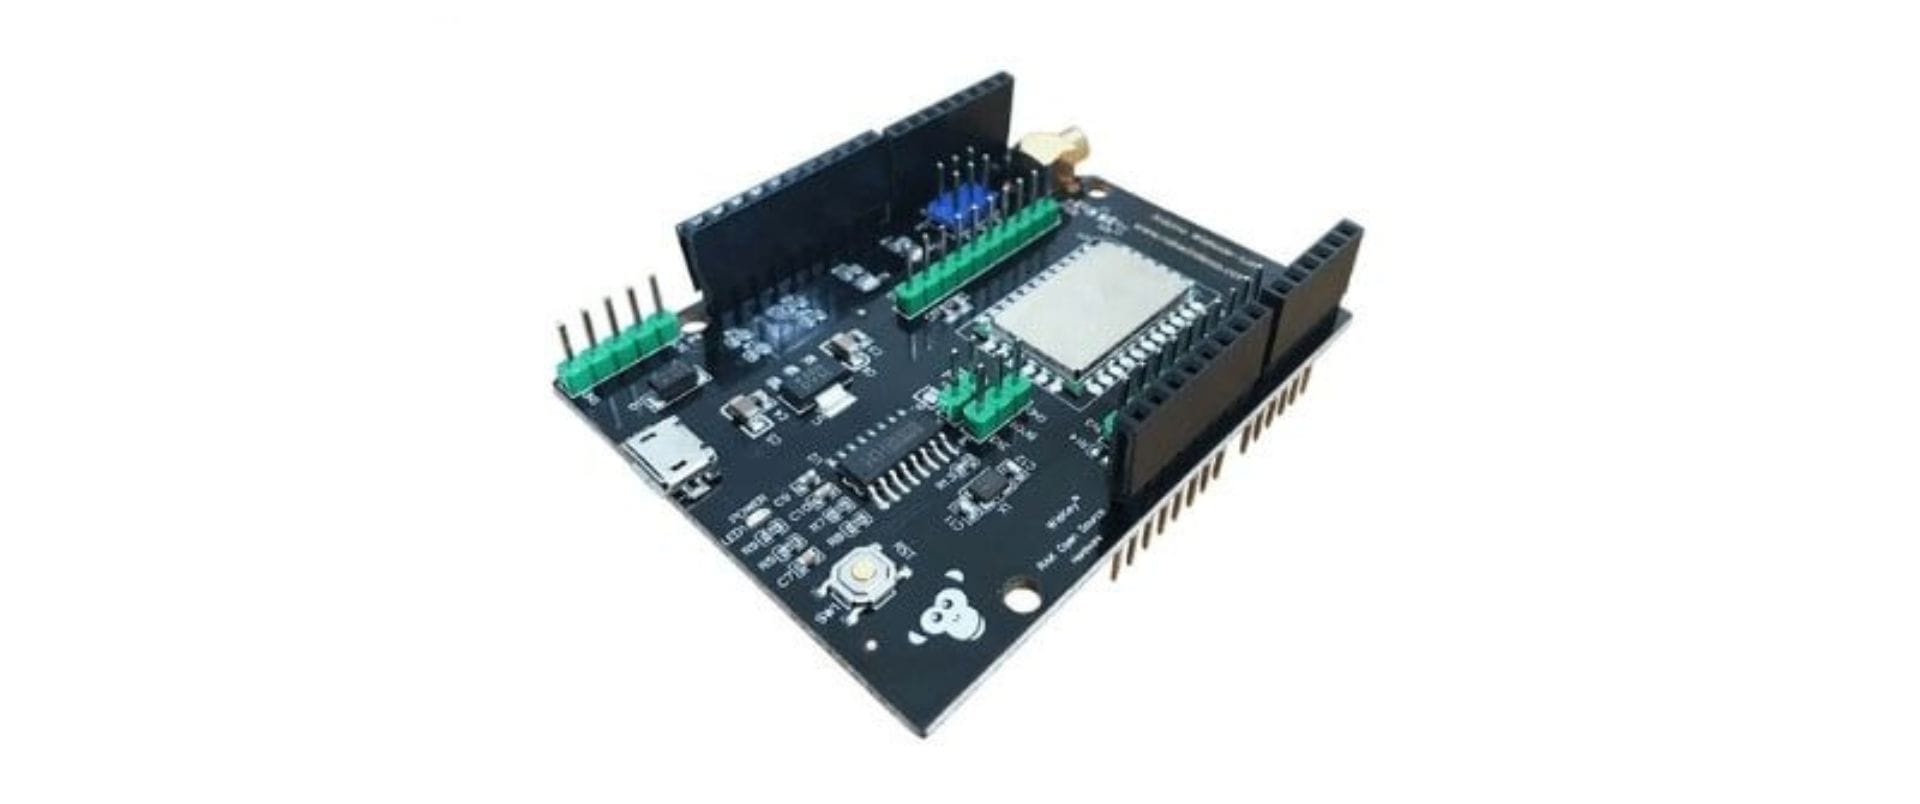
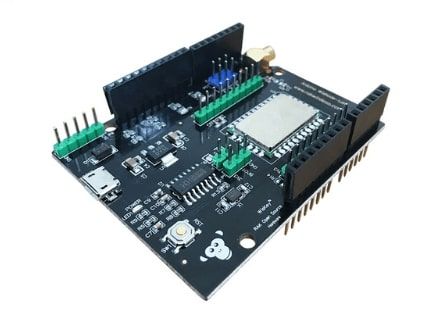
This article comes from RAK's customers, they used the WisNode-LoRa open source hardware.
Overview
Top 3 reasons why we like the RAK811 WisNode-LoRa:
- Low cost.
- Works both standalone as well as an Arduino shield.
- Easy to start with AT commands as well as extend with open-source code for IAR Embedded Workbench for ARM (EWARM) toolchain V7.70.1 + SWD.
Quick Start
Before you start, contact Kotahi Net for a free network connection. We will send the ABP (Activation by Personalization) details you need to enter into the code. Remember to check there is network coverage in your area.
Flashing
- Download and save updated firmware.
- Download and install STM32 flashing tool. Requires free registration or providing name and email address to STMicroelectronics.
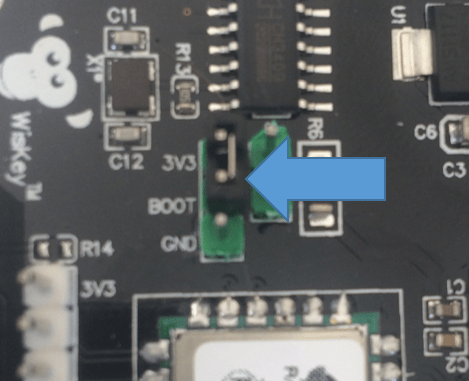
- Put the board in flashing mode by placing the supplied sleeve so as to bridge the pins 3V3 and BOOT.
- Connect the board to your computer with a USB cable. It should set up automatically on a COM port.
- Flash the firmware following instructions on pages 5-7 of the Quick Start Guide.
- Disconnect board from your computer.
Configure & Send Data
- Set board to normal mode by placing the supplied sleeve so as to bridge the pins BOOT and GND.
- Connect the board to your computer with a USB cable again.
- Use a terminal emulator tool such as Tera Term or PuTTY and connect to the COM port. In Terminal Setup set new-line receive and transmit as CR+LF. Also select local echo. For serial port settings, leave all as default other than setting Baud rate to 115200.
- Configure the board as below and send data.
IMPORTANT Change the dev_addr (Device Address), nwks_key (Network Session Key), and apps_key (Application Session Key) in the configuration below to that provided by KotahiNet. Data sent will be visible on a web page. KotahiNet will provide the details about this when providing your ABP details.
Tip It may be easier to copy and paste the ABP parameters and configuration for channels into the terminal, one line at a time. Typically, pasting is by right mouse button click.
at+version
OK1.0.2.3.5
at+set_config=dev_addr:014D066B
OK
at+set_config=nwks_key:405DD9F2F66300825D80BF2D2E44CA80
OK
at+set_config=apps_key:D4F0B91AC3D50A8B25412E1FCC8AB361
OK
at+join=abp
OK
at+set_config=ch_list:0,on,865000000,0,5
OK
at+set_config=ch_list:1,on,865200000,0,5
OK
at+set_config=ch_list:2,on,865400000,0,5
OK
at+set_config=ch_list:3,on,866200000,0,5
OK
at+set_config=ch_list:4,on,866400000,0,5
OK
at+set_config=ch_list:5,on,866600000,0,5
OK
at+set_config=ch_list:6,on,866800000,0,5
OK
at+set_config=ch_list:7,on,867000000,0,5
OK
at+set_config=rx2:867200000,0
OK
at+set_config=duty:off
OK
at+get_config=ch_list
OK0,on,865000000,0,5;1,on,865200000,0,5;2,on,865400000,0,5;3,on,866200000,0,5;4,on,866400000,0,5;5,on,866600000,0,5;6,on,866800000,0,5;
7,on,867000000,0,5;8,off;9,off;10,off;11,off;12,off;13,off;14,off;15,off
// send data- confirmed transmission, port, hex data
at+send=1,7,ABC123
OK
at+recv=1,0,0
// send data- unconfirmed transmission, port, hex data
at+send=0,7,ABC124
OK
at+recv=2,0,0

